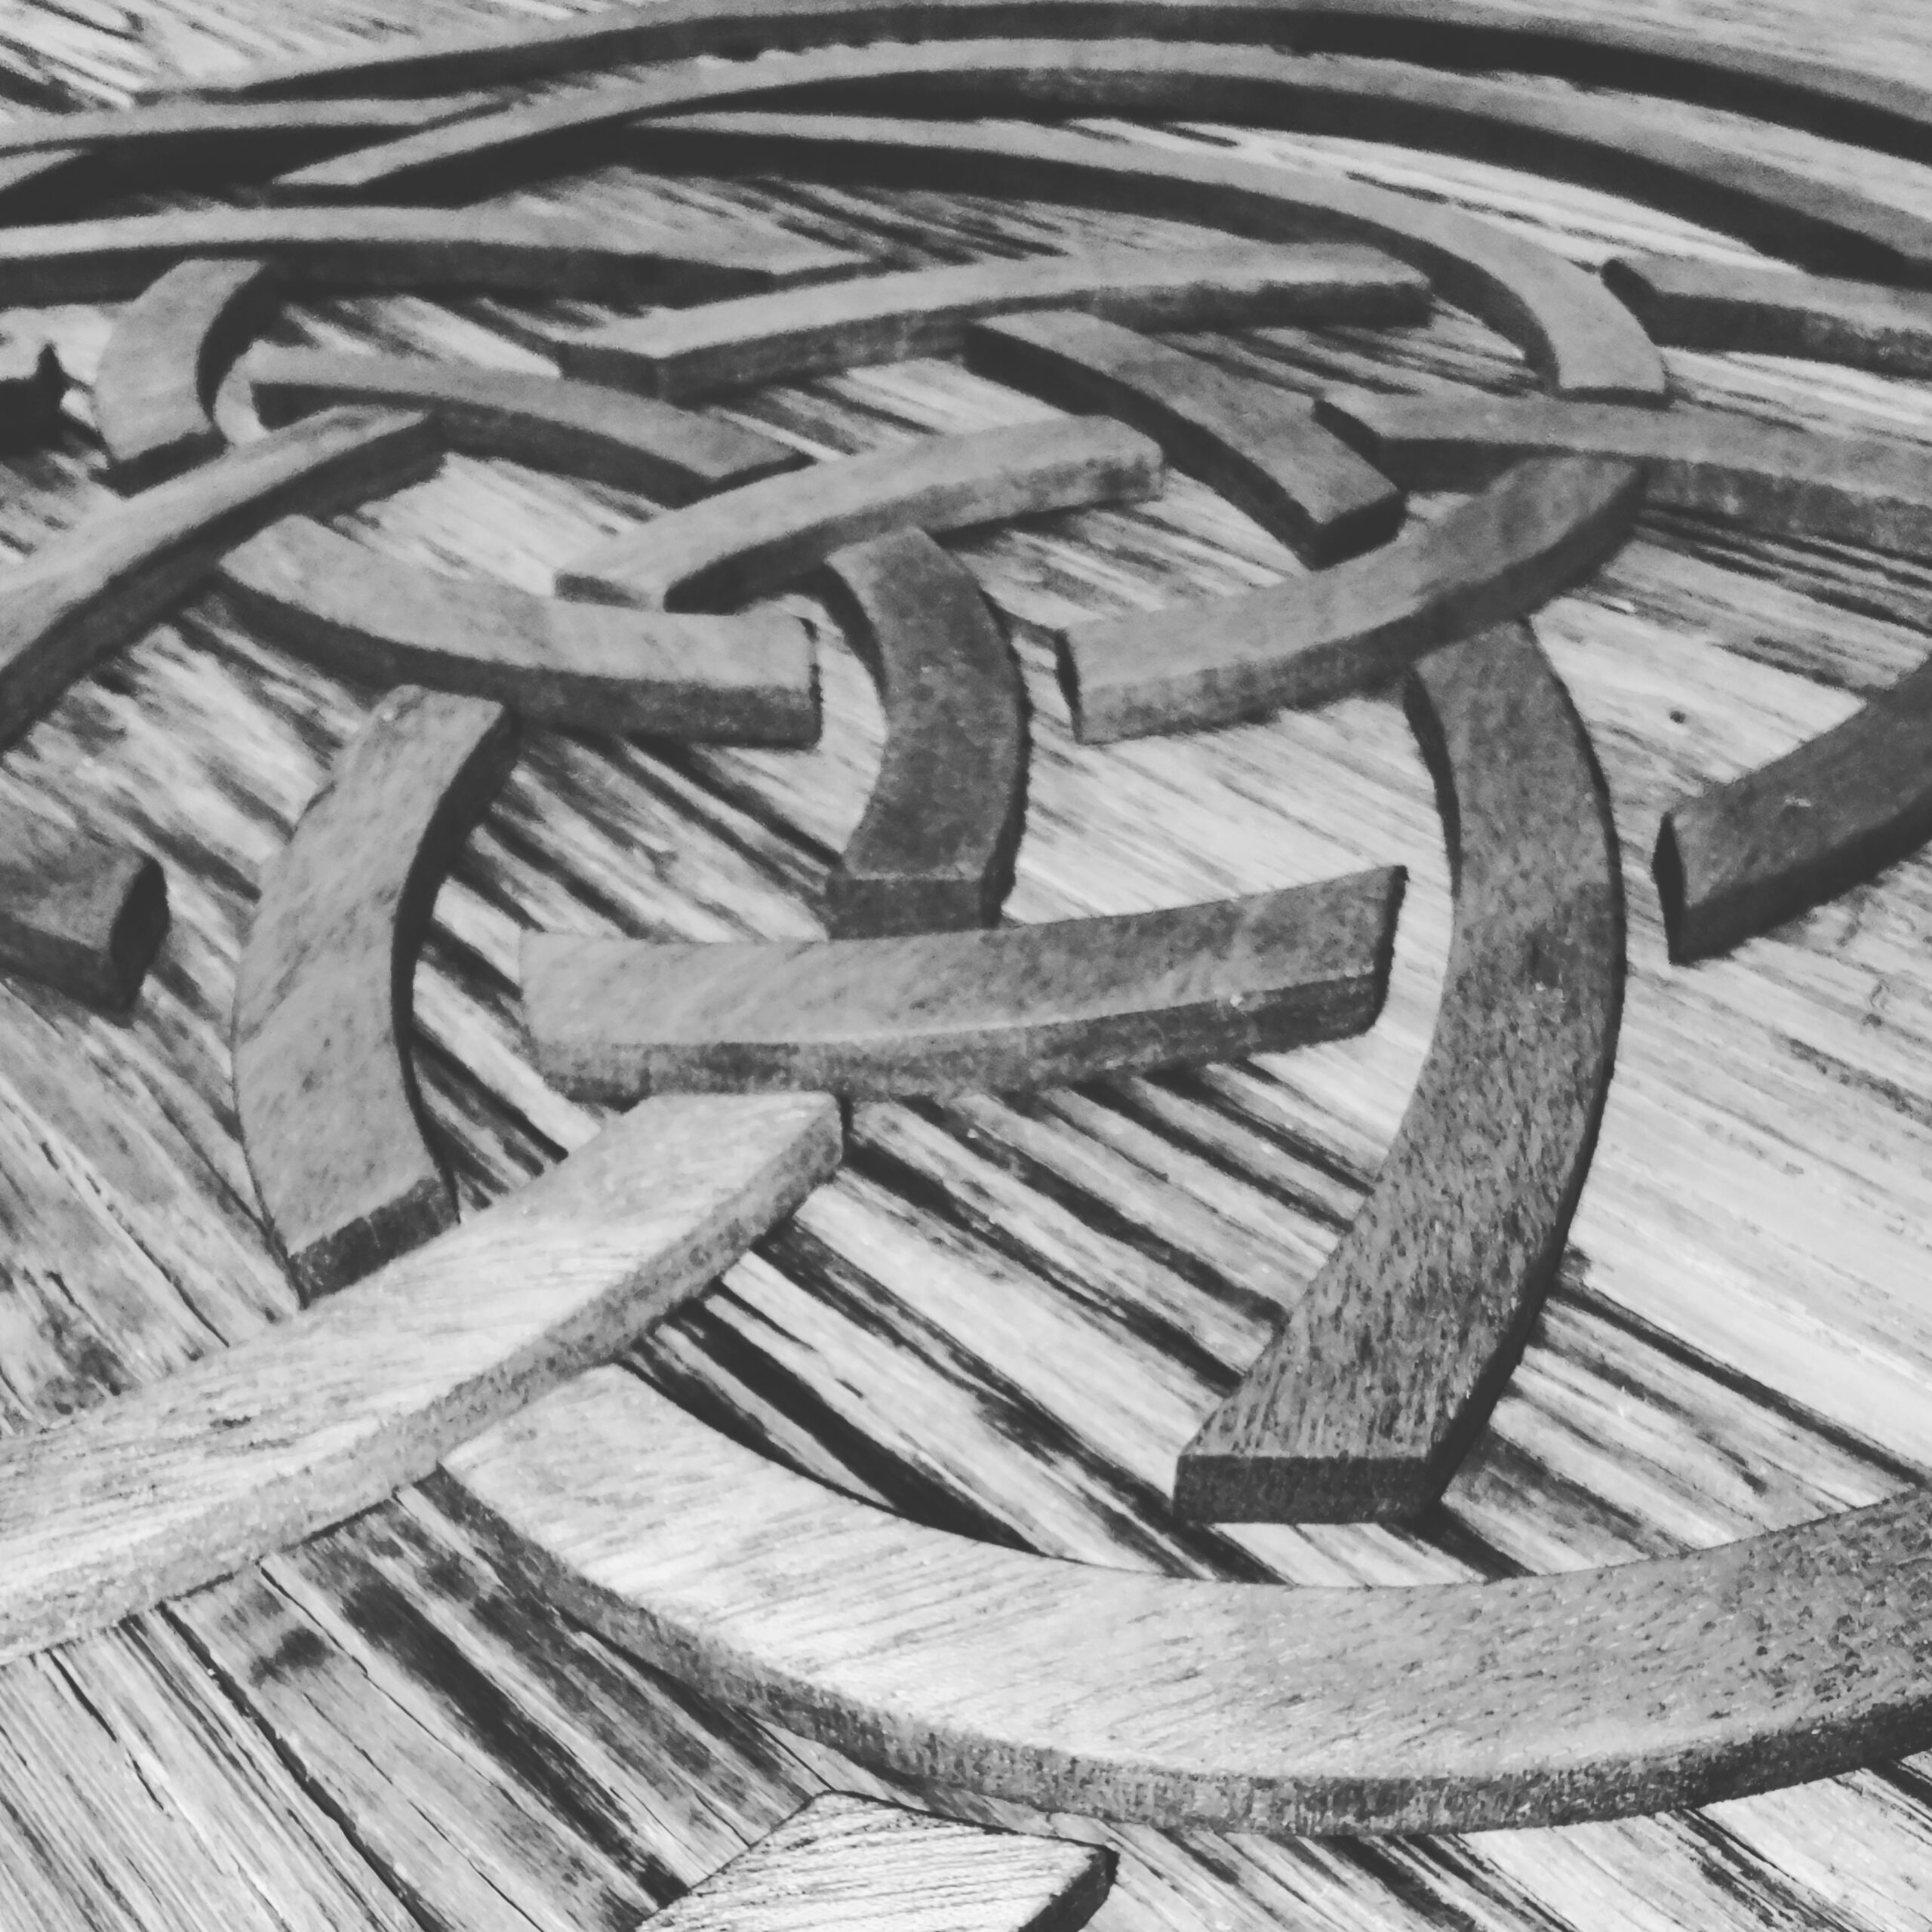
The design is an experiment in using spirals in combination with radial symmetry to produce a unicursal knot. Usually I base knot designs like this off of circles and polygons, so this was a new challenge.
I originally used this design for some cut paper stationery, shown here. Wanting to take things up a notch, and wanting to practice on my new scroll saw, the natural thing to do was scale it up about 600% and use several processes I’d never tried before.


The first thing that needed to be done was choose an exact size based on available materials. Smoky Mountain Vintage Lumber had some really cool reclaimed chestnut for the background and ipe for the frame…the giant, giant circular frame. I’ll come back to that.
The background was constructed by first gluing the chestnut pieces to a piece of 1/8″ MDF. Plywood would have been sturdier but weighed much more. Next I used my super-sophisticated circle cutting jig which consists of 2 pieces of wood and a nail atop my table saw. This method only works when you want to cut a solid circle and don’t mind a tiny hole in the center of the back.


Calculating but ultimately guestimating the frame width I could get from the ipe, I cut the wood into 16 pieces with 11.25° ends. Then, a couple of pieces at a time, I glued the frame segments together knowing it would be a Hanukkah Miracle if they lined up in the end. That’s why I left the final segment out of the gluing process and cut a larger piece to fit the gap at the last minute.
Just as I put off dealing with the frame while working on this, I will put off explaining the process one more time. I was ready to do the fun stuff anyway, cutting out all those little knot segments. So many segments…


I had some mahogany just about the right size for gluing printouts of these templates to. Several days and 33 segments later, I printed out a full size template on letter size paper (tiled and taped together) and determined it was instead well worth $10 to get it printed at FedEx on one big piece of paper.
Well, it would have been if they had followed my instructions to print it at 100% of the file size I gave them even if it cut off some of the margins. Bitter was my disappointment when, after cutting the segments out of the paper, I found that the template had been printed at ~99% size, which made it impossible to use as a placement guide. They were nice enough to print another one for “free” which makes me wonder how much anything really costs anyway….

Just gluing everything in place would have been quicker, but it was so much more amusing to make a stop motion animation of it happening.

Back to the frame. I had only ever made one circular frame before. It was several years ago, my dad helped me, and neither of us could recall exactly how we did it. Coincidentally the cheap mirror in my studio bathroom fell apart (actually fell off the wall) so I used this as an opportunity to practice.
For anyone wondering how to do this starting with a solid circular piece of wood: align your work piece so that a circular dado cut by a plunge bit will be centered in the circle. Make sure your dado is deep enough for a trim bit bearing. Use a jigsaw to cut reasonably close to the inside edge. Clean things up with a trim bit.

Allow me to interrupt myself and tell you about the side project I squeezed in here: I needed a new studio bathroom mirror for the one that fell of the wall, so I used what I had learned so far about making giant circles.


This was starting to become more about the frame, but I’d rather spend the time to make something like this than go out an buy it. Also, you can’t go out and buy it. Not the big one anyway.

This jig was slightly more sophisticated, but the main difference is that this one is actually clamped to the fence. This way you can use the same side-to side movement to sneak up on cleaning things up as well as switching from the outside cut to the inside cut.

And then I was finally done with the most worrisome parts. The mahogany pieces were finished with boiled linseed oil before placement, and the same was used on the finished frame after some sanding. The chestnut was left alone. I fashioned some aluminum clips to hold the piece in the frame and use a cleat across the back to hang it on the wall.

tri spiral unicursal knot
39"ø, mahogany on chestnut in ipe frame
2021
