Your cart is currently empty!
After starting the design for this one, I wanted to go bigger than I have before. I printed the knot out on one large piece of paper so the alignment wouldn’t be dependent on my ability to tape tiled sheets of paper together.

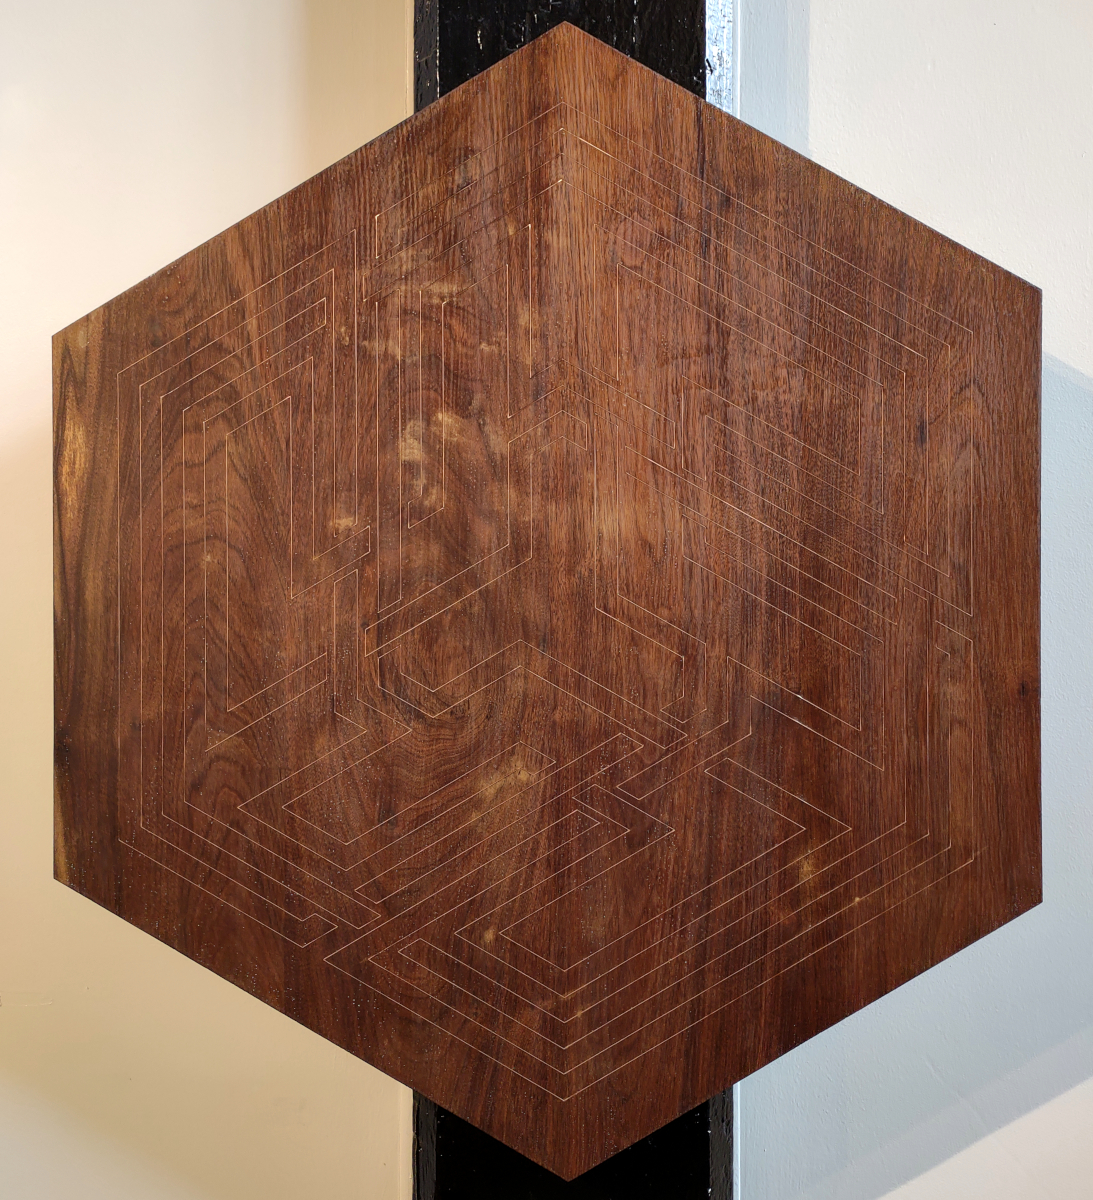
Then I needed a giant hexagon for it to go on. After planing some boards down and gluing them up, I made a giant rectangle and cut the ends off at angles.
I really do love it when I get to use a circular saw to make something that counts as fine art.
This is one of those stages where I think, “I mean, it looks pretty cool. Maybe I could just stop here.” But, no.

Actually before I got to this point, I practiced using the same 1/8″ copper strip I used for my tercet chain knot. The technique I used on that piece was hammering a modified X-acto blade to make the grooves. It took forever, so I thought I might be able to just sort of cut it into a softer wood just using the knife without hammering. This was a terrible idea because the wood I used had a really open grain and my design was mostly curves. Utter disaster. Laughably so.


That’s when I completely changed everything, working much larger and using a design with only straight lines. Still not wanting to take an actual year to cut all those little lines, I further simplified the design. I also got my hands on a cute little router base for my Dremel tool. Finally, I used wire instead of strips.
Matching the depth of cut to the thickness of the wire was a little tedious. Each line took several passes because the bit was so tiny.


And now everything was set up to actually being really working. Hammering the wire in really is so satisfying. Unless you mess it up, in which case it’s terrifying.


