fbpx

Category: individual pieces

These are pieces either not included in past shows, shown by themselves, or incidental work you might find interesting.
  • dead temple visions 23X-tile

    dead temple visions 23X-tile

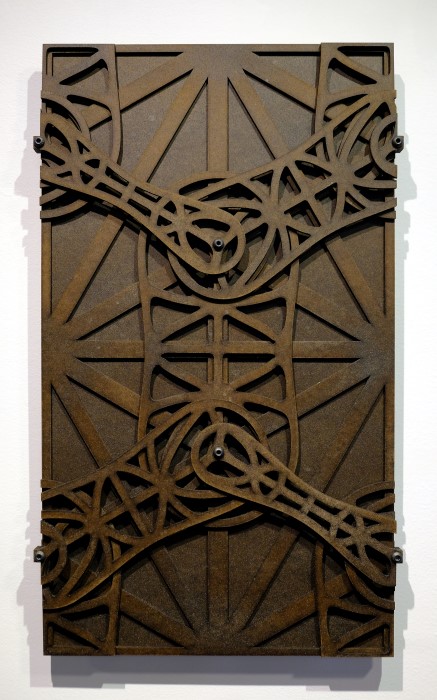
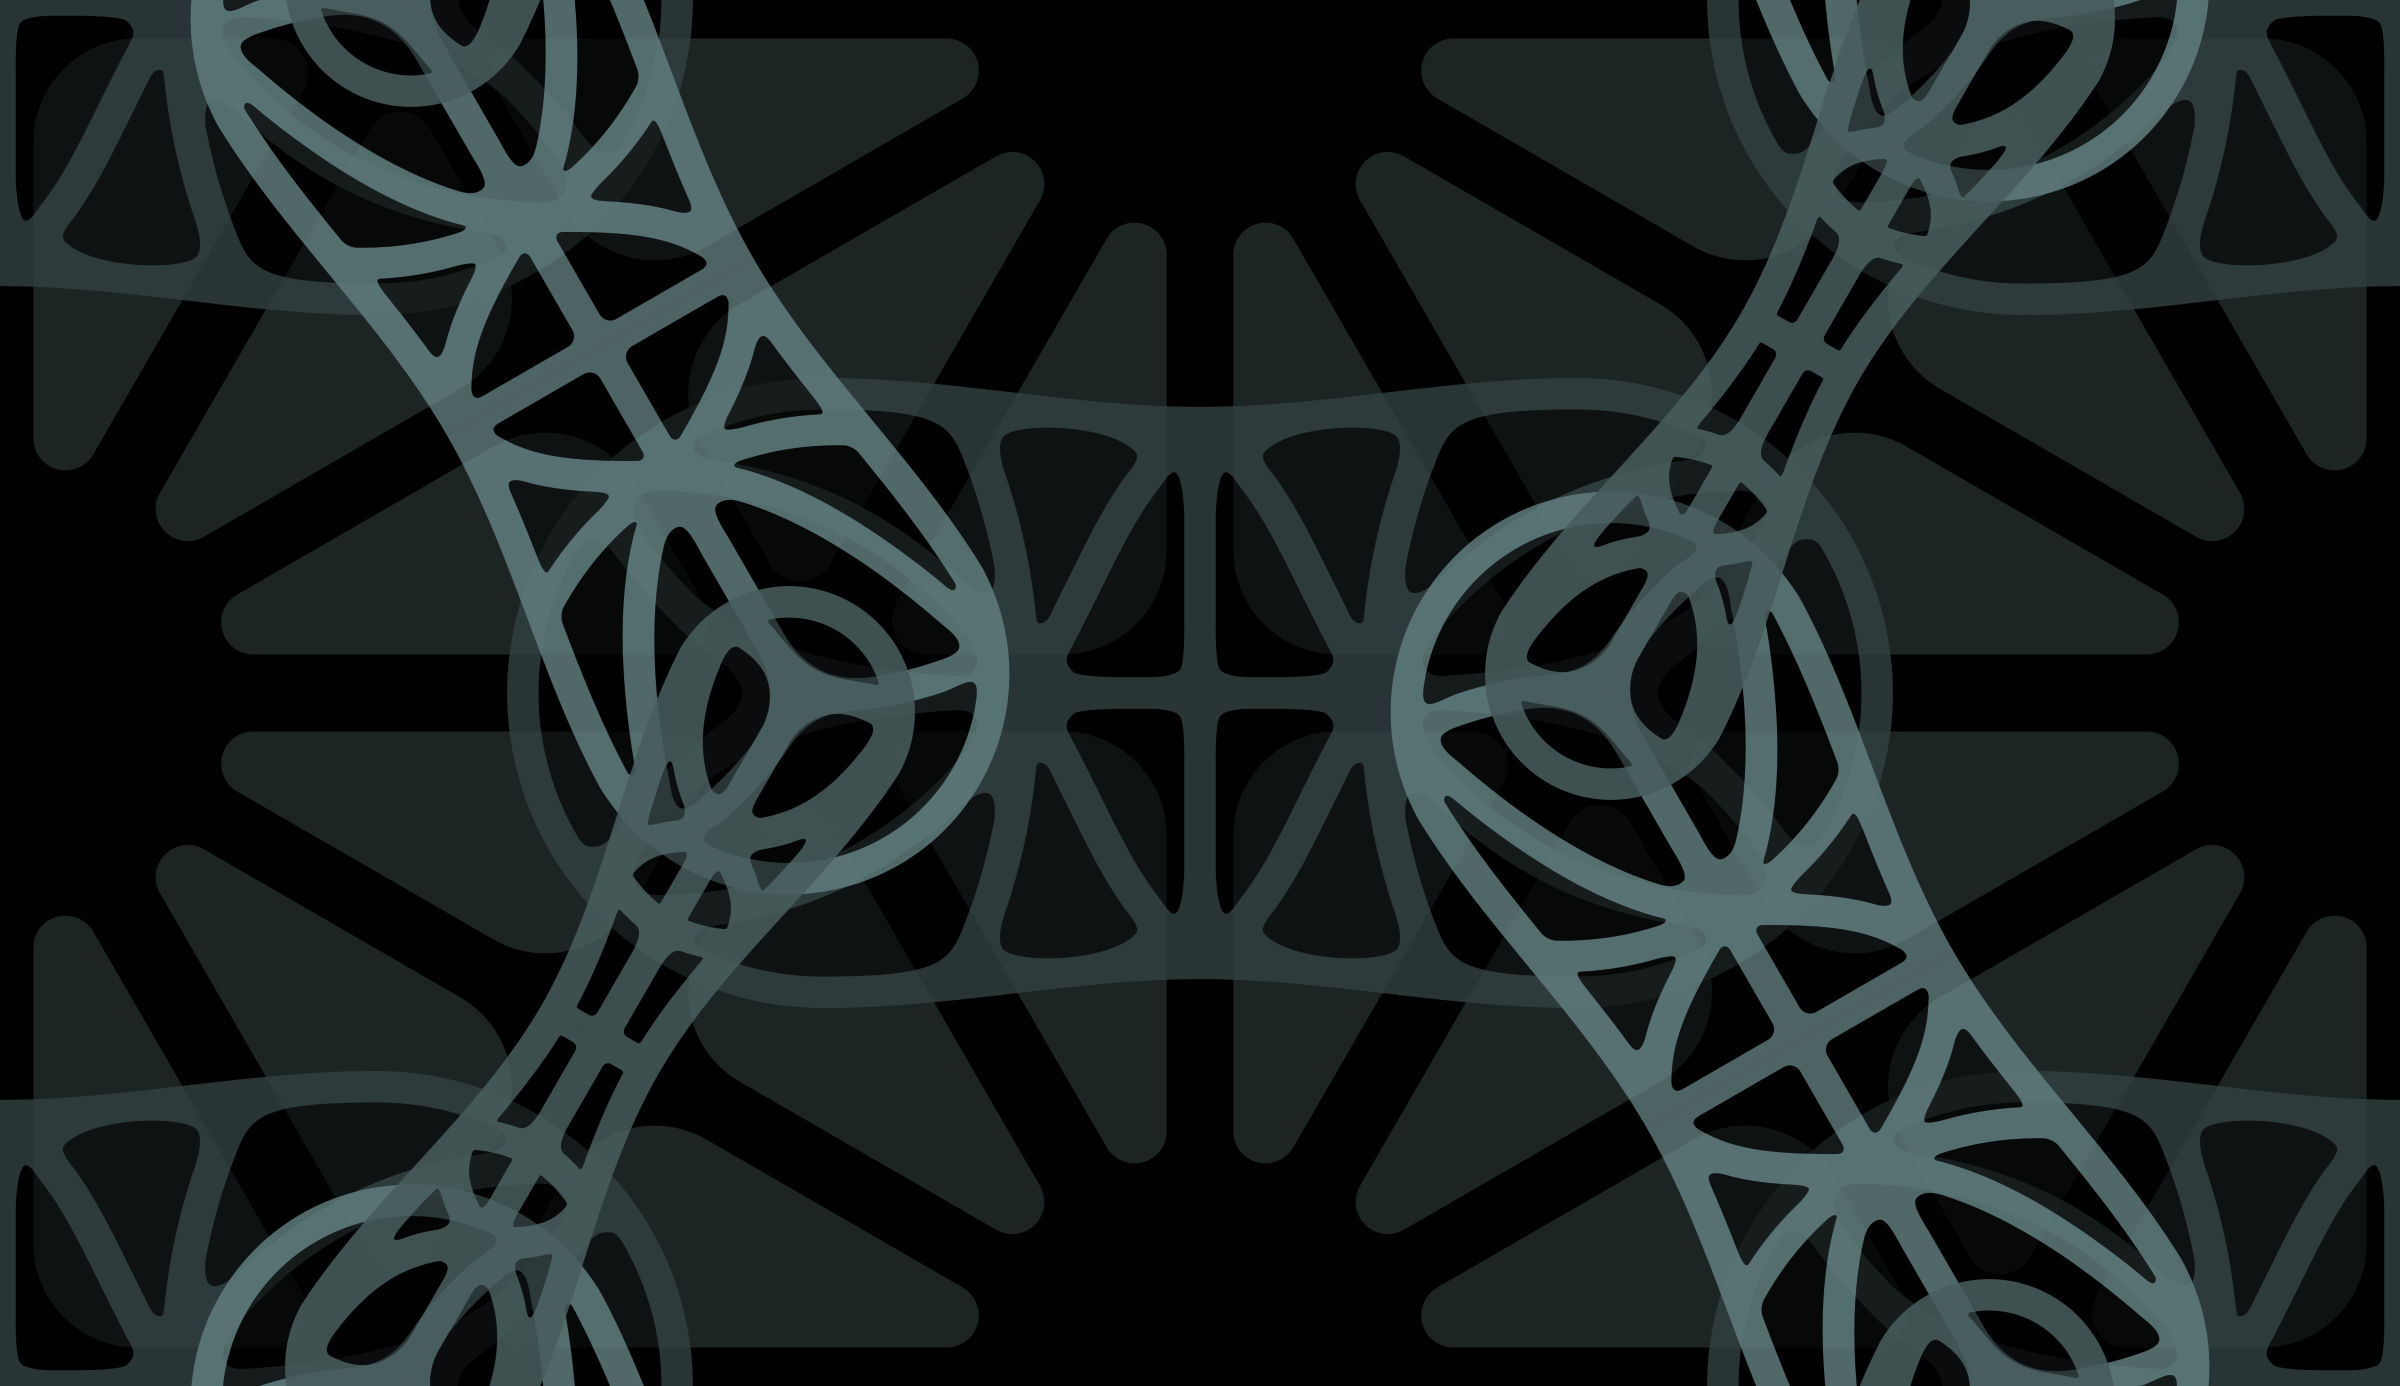
    This is a wall tile recovered from the excavated temple. The room was a small enclosed space with no windows to the outside. The gas lamps we were using revealed the dimensional texture of the tiles. A relevant offering was placed in its stead upon removal.

    This pattern tiles a plane divided by either triangles or rectangles

    This piece is currently on display at the City County building in Knoxville, TN.

  • surface-tiling curves

    surface-tiling curves

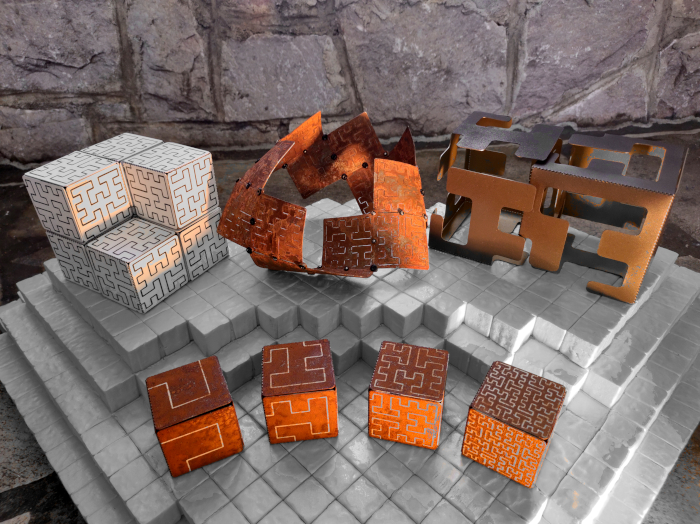
    This paper explains the process for constructing a space-filling curve, segments of which tile the faces of a regular polyhedron; describes its application to a polyhedron net; and illustrates some of its interesting properties with physical examples.

    introduction

    There is a method for constructing a space-filling curve which positions its termini at points allowing copies of the same curve to be connected end to end and applied to the net of a regular polyhedron. The resulting polyhedral shell has faces tiled with segments of a unicursal path: a surface-tiling curve.

    Each face of a polyhedron includes a space-filling curve which is one segment of the entire curve, referred to here as a tile. Figure 1(a–d) shows tiles for the first four iterations. Rotated and reflected tiles connect across dihedral angles of polyhedrons, wrapping the surface in a continuous loop and comprising the entire curve, as shown in Figure 1(e–h).

    constructing a curve tile

    Curve tiles follow a basic pattern of fractal curve construction: each iteration is made up of transformed copies of the previous iteration, indicated as outlined paths in Figure 1(b–d). Each iteration also includes an adjusted version of the previous iteration (described below).

    The construction method alternates for every other iteration, indicated in Figure 2 as A and B. Both methods consist of four steps, each indicated by thin lines with arrows, which place transformed copies of the previous iteration in order in quadrants I–IV. The two methods differ in the third step (↻ 90° vs GLIDE). Construction for each iteration ends with a transformation (indicated by an outlined arrow) of the new tile for its orientation in quadrant I as the basic component of the following iteration. The two methods also differ here (FLIP ↔ vs ↺ 90°).

    The basic component for each iteration can be seen as having two parts. One of these parts, indicated by a gray background in Figure 2, is reflected in the last step of each iteration’s construction, and becomes a symmetrical version of the basic component. This last step creates the overall path direction necessary to apply the curve to a net.

    Figure 2: Alternating construction pattern for a surface-tiling curve tile.

    applying a curve to a net

    A surface-tiling curve tile’s overall path direction allows an unbroken end-to-end path to be applied to a net by using alternating transformed tiles. Because the tile’s path does not branch, only non-branching nets will work. Figure 3 shows the transformation pattern for a tile applied to such a net.

    When the net with the applied tiles (the whole curve) is folded into a polyhedral shell (Figure 4), the path traverses all the faces and connects with itself, becoming continuous.

    Figure 4: Several iterations of a surface-tiling curve, each applied to a polyhedral shell
    (paint on oxidized steel).

    additional properties of surface-tiling curves

    stacking

    Cube shells can be arranged into stacks that preserve the unicursality of the exterior, visible curve. Figure 4 shows a few of the many possible arrangements.

    bending / twisting

    Even numbers of tiles arranged in the basic net pattern used in Figure 3 can be bent into a continuous ring. Odd numbers of tiles can be bent and twisted into a Listing band (a.k.a. Möbius strip), shown in Figure 5. Both arrangements maintain unicursality.

    slicing

    When a shell is cut along the path of a surface-tiling curve, the shell is sliced into two mirrored pieces with mirrored, branching nets, shown in Figure 6. The two pieces are not locked in place and can be separated with two slide moves.

    clarifications / generalizations

    Platonic polyhedra were chosen for the exploration in this paper for two reasons: 1) each is composed of identical faces and 2) the shapes of those faces are easily mapped into Gaussian and Eisenstein domains, keeping surface-tiling curve construction simpler and more consistent with other curve construction methods [3].

    In the examples given, the term “polyhedron” is used although all the examples above are cubes. Surface-tiling curves also exist for the triangle-faced regular polyhedra. These three polyhedra can use the same tile, iterations shown in Figure 7.


    Non-branching nets of all three triangle-faced regular polyhedra can encompass surface-tiling curves (Figure 8). Bending / twisting nets and slicing shells work the same as for cubes.

    There is a similarity between surface-tiling curve tiles and the Hilbert curve. However, the Hilbert curve cannot tile the faces of a polyhedron without adjustment. Its iterations alternate between entering / exiting a square containing the curve on the same edge and on opposite edges [2]. It is the feature of entering / exiting adjacent sides of containing shapes which allows the polyhedral face tiling of surface-tiling curve tiles for polyhedrons with square and triangle-faced polyhedra.

    The collection would be complete with a surface-tiling curve for the dodecahedron. However, a continuous linear path with identical tiles on each face is not possible with a dodecahedron net because the pentagon requires two different general path directions across connecting faces: a path entering one side would need to exit an adjacent side sometimes and an opposite side other times (diagram in supplementary document). A look at the 340 non-branching dodecahedral nets shows that not one is composed of purely adjacent-side-exiting or opposite-side-exiting arrangements [1].

    A curve with tiles spanning more than one face (such as a curve segment contained in an octagon made up of two connected pentagons) might address this issue and is an avenue of future investigation.

    references

    [1] E. Pegg Jr. Wolfram Demonstrations Project. Path Nets for Dodecahedron and Icosahedron. 2018. https://demonstrations.wolfram.com/PathNetsForDodecahedronAndIcosahedron/
    [2} H. Sagan. Space-Filling Curves. Springer-Verlag, 1994.
    [3] J. Ventrella. The Family Tree of Fractal Curves. Eyebrain Books, 2019.

    more…

    The artworks shown were on display at Dalhousie University in Halifax, NS in July 2023 as a part of the Bridges Conference Mathematical Art Galleries.

    The written content is a paper presented at the same conference.

    videos with more angles of individual artwork examples

    The paper was also presented at the 103rd Annual MAA-SE Section Meeting at the University of Tennessee-Knoxville in March of 2024.

  • Pool of the Black Star video

    Pool of the Black Star video

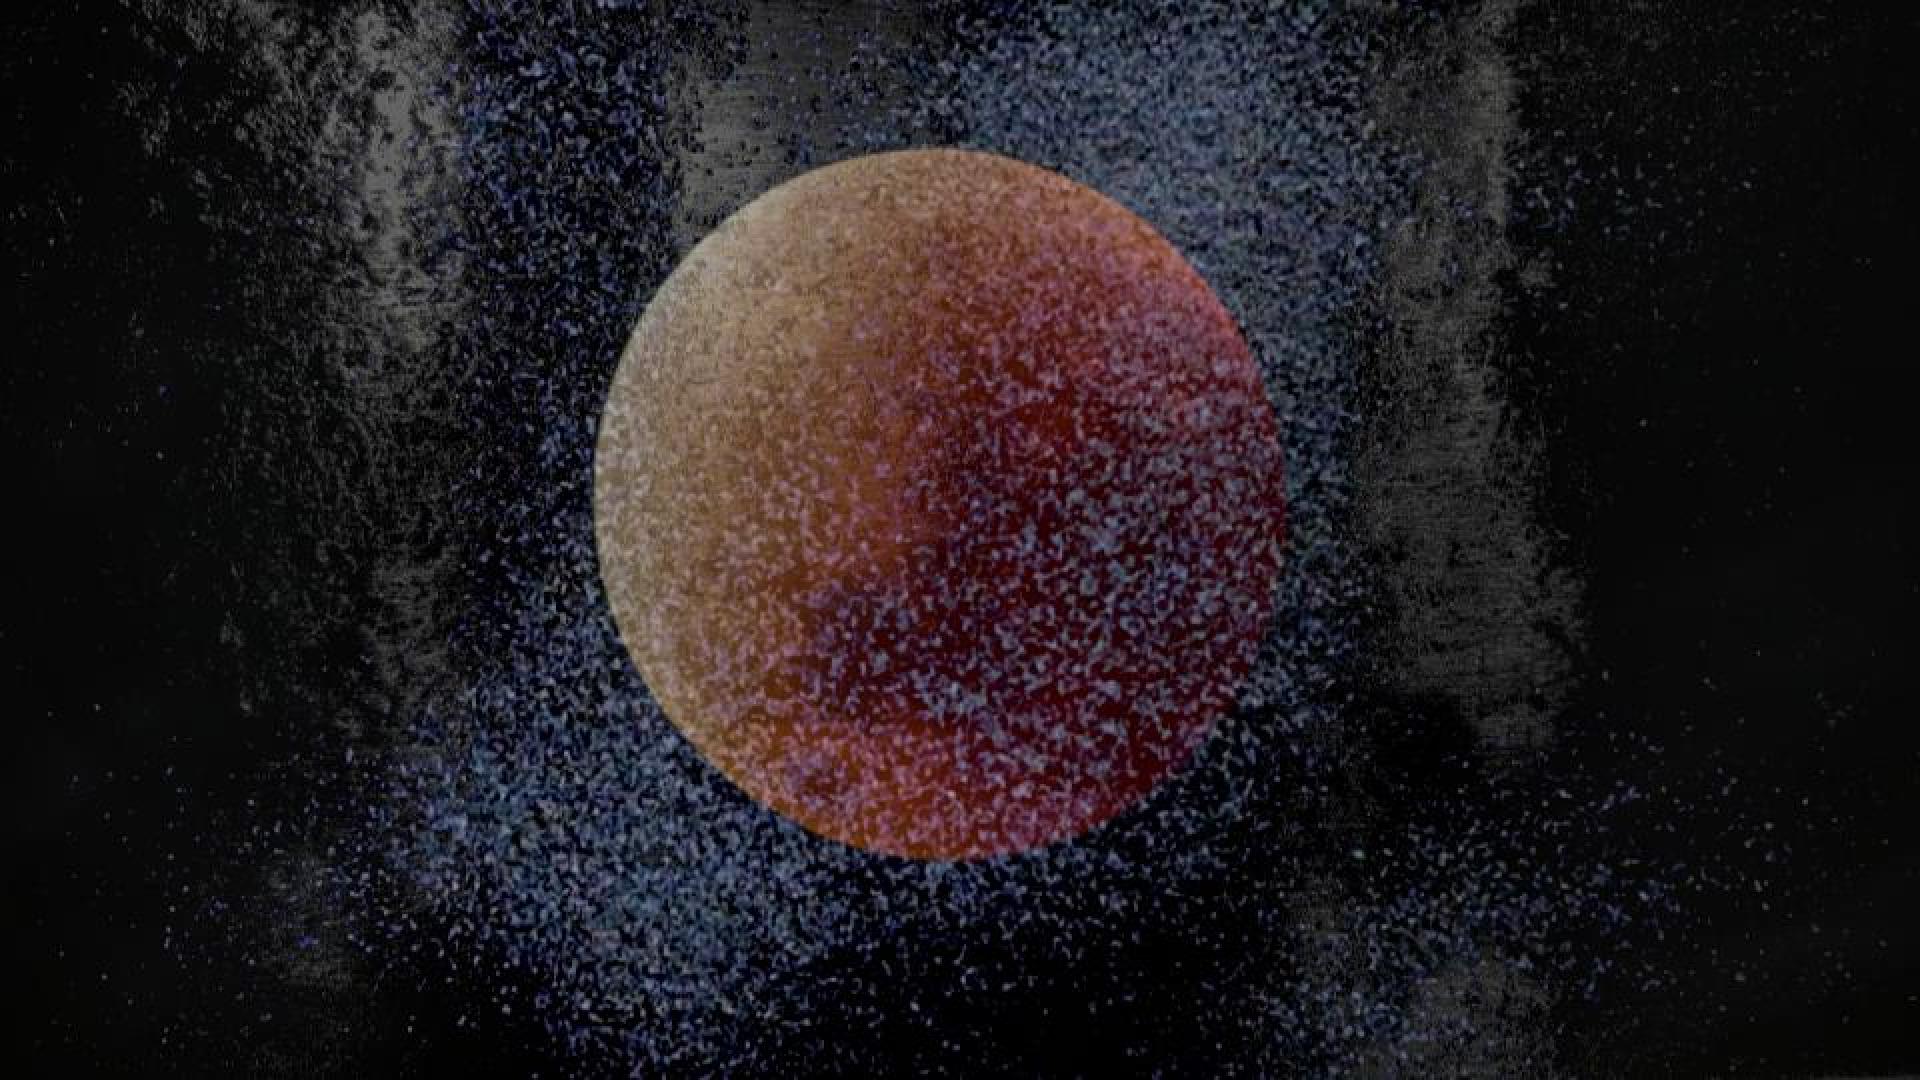
    This short film accompanies an abbreviated version of the album Pool of the Black Star by New York / California guitar duo KillDry.

    The film incorporates cymatics, time lapse imagery, experiments with nanoparticles, and nature scenes from surrounding areas, including Cumberland Falls state park.

  • hadassah 5783

    hadassah 5783

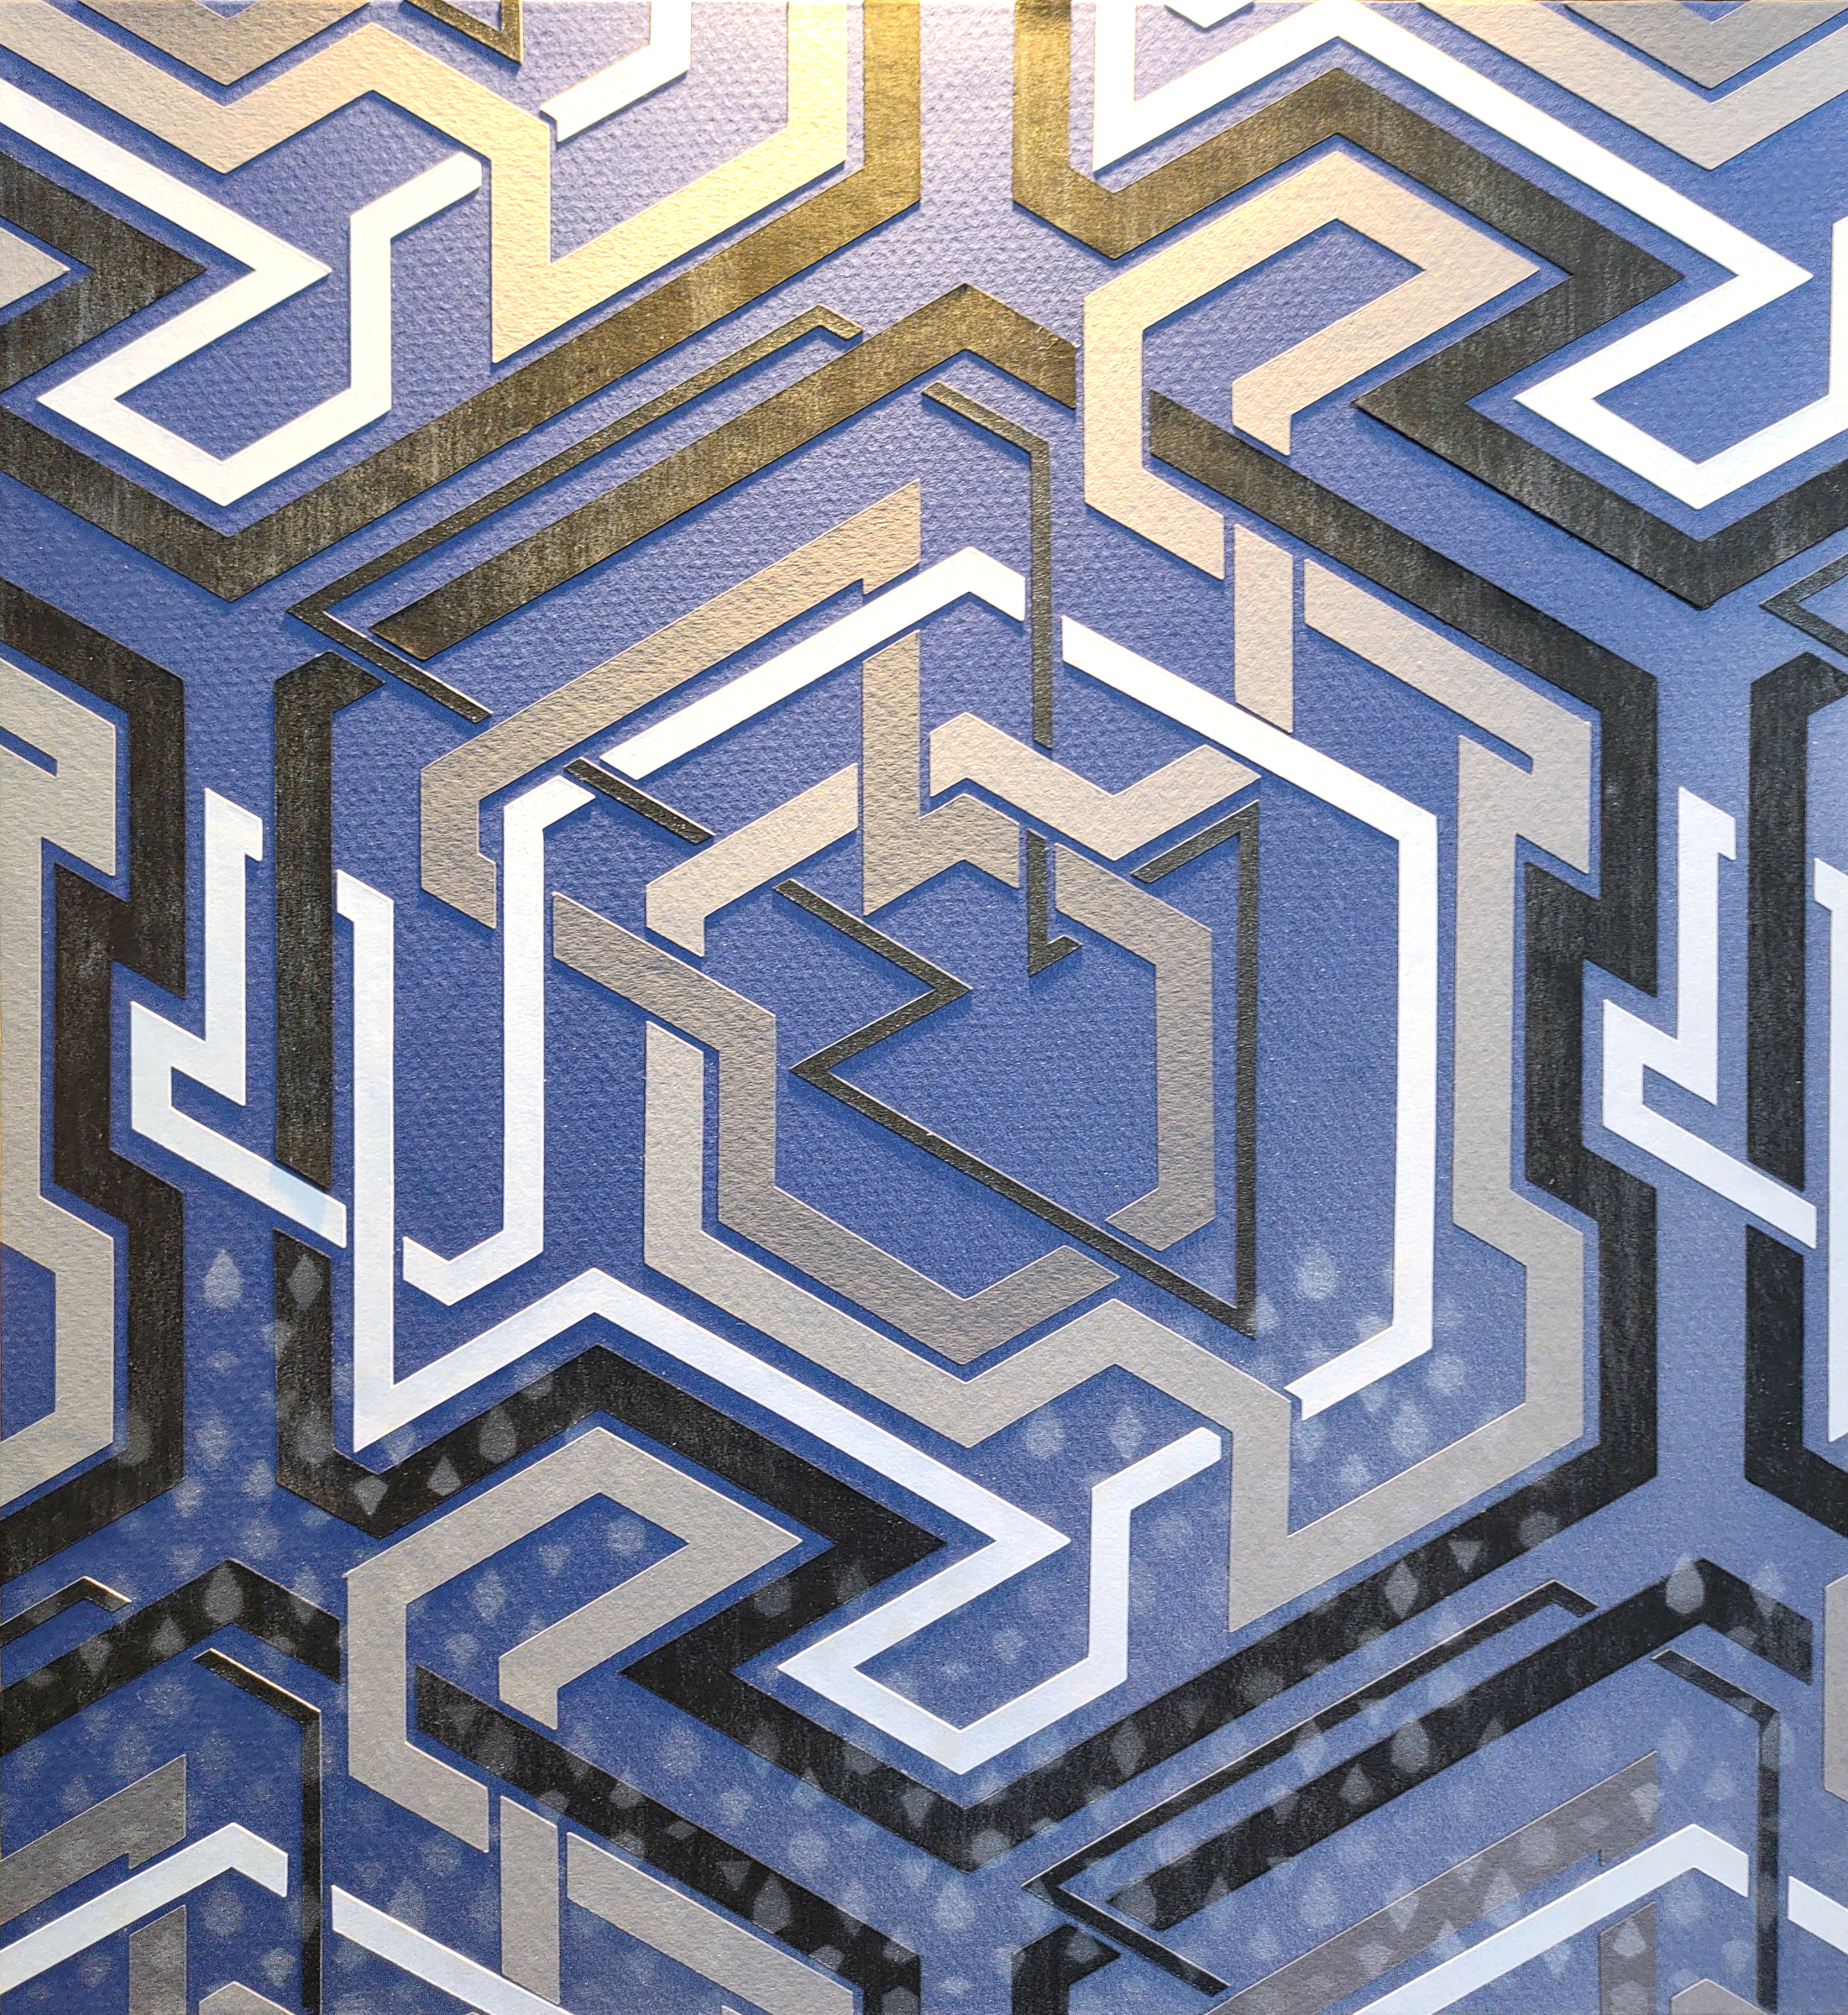
    This artwork was created for the Knoxville-Oak Ridge chapter Hadassah membership directory.

    The design is a detail of a much larger lattice. The knots, cut out of different colors and thicknesses of paper, form tiles which weave into one another. A gradient of a diamond pattern gradually appears in the lower section.

    The piece is 11″ x 12″ x 1.5″ and can be hung or stand on its own.

    It was donated to Hadassah, to be auctioned with all proceeds benefitting the organization.

  • exploded hexahedron tiled with a plane-filling curve

    exploded hexahedron tiled with a plane-filling curve

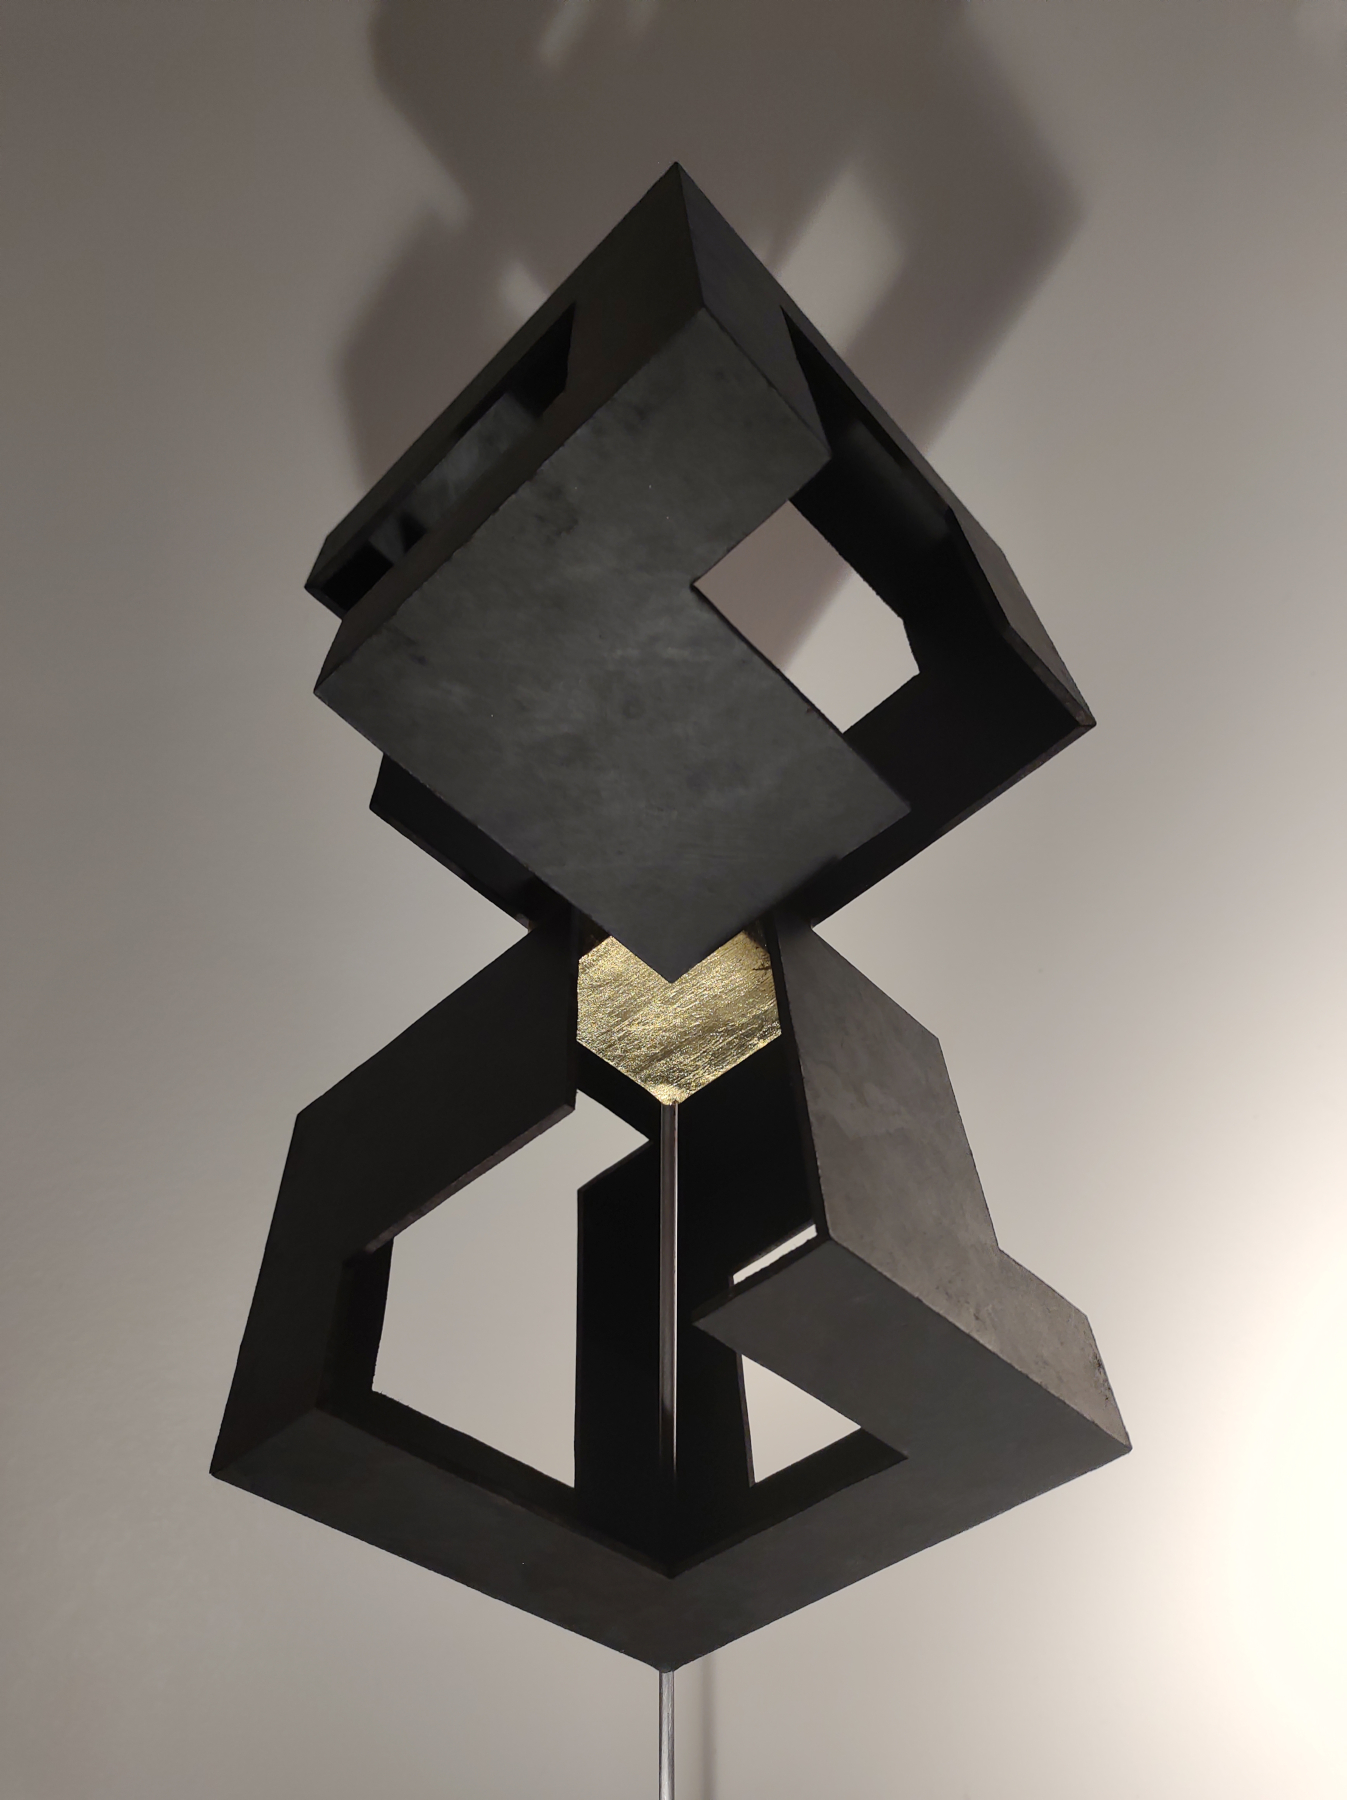
    A single line bisects a hollow cube into two mirrored sections, revealing a second, smaller solid cube inside which supports the three pieces when suspended from the top corner. The bisecting line (curve) is plane-filling, and each face of the exploded hexahedron is identical.

    A single line bisects a hollow cube into two mirrored sections, revealing a second, smaller solid cube inside which supports the three pieces when suspended from the top corner. The bisecting line (curve) is plane-filling, and each face of the exploded hexahedron is identical.

    The diagram here shows the first 4 iterations of this curve although only the first one is used in this piece. It may look like the Hilbert curve at first, but while it’s ok for a space-filling curve to start at the left and end at the right, to use a curve to tile the faces of a polyhedron, it will have to follow a more circuitous path.

    This piece evolved into the surface-tiling curve project.

  • Pool of the Black Star album art

    Pool of the Black Star album art

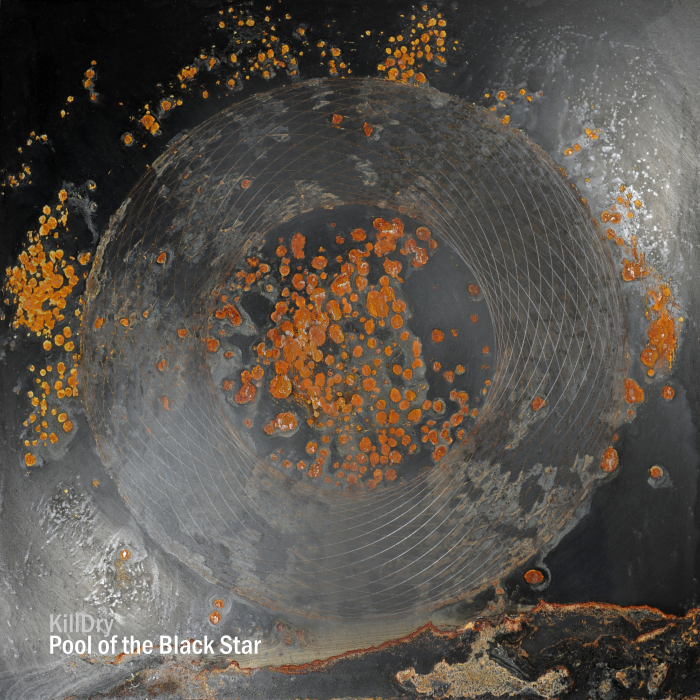
    While working on the artwork, I listened to the album many, many times. I experimented with several techniques, but a semi-controlled corrosion process on metal was the final medium. What is semi-controlled, you ask? Unless you go out of your way to stop rust, it just keeps happening. These image comparisons show the cover artwork before, after, and way after blasting the meticulously etched, pristine lines with flames and chemicals. The stage of deterioration photographed for the album artwork shows some of the original purity of the lines.

    Those lines mimic guitar stings. Their arrangement into a loop makes reference to the moon, which is what the phrase “dark star” made me think of. The corrosion relates to gritty, complex sounds from the pedals. Originating from precise metal wires, signals decay and transform into something more chaotic and more complex than the original.

    soapstone pencil on steel
    vs
    lines etched on painted steel
    (both with colored and UV lighting)
    lines etched on painted steel in daylight
    vs
    initial corrosion treatment
    (same object, before and after)
    initial corrosion treatment
    vs
    corrosion treatment slowed after a few months
    (same object, before and after)

    The reverse of the album cover is a silhouette-like image highlighting a contemplative face. I used similar techniques for the corrosion along with masking. I would show the reference photo too but I promised never to show the mystery person’s face.

    Variations on the knot design were used as the center labels for the actual LP.

    This piece was displayed at the City County building in Knoxville during 2024.

  • interlocking panel box

    interlocking panel box

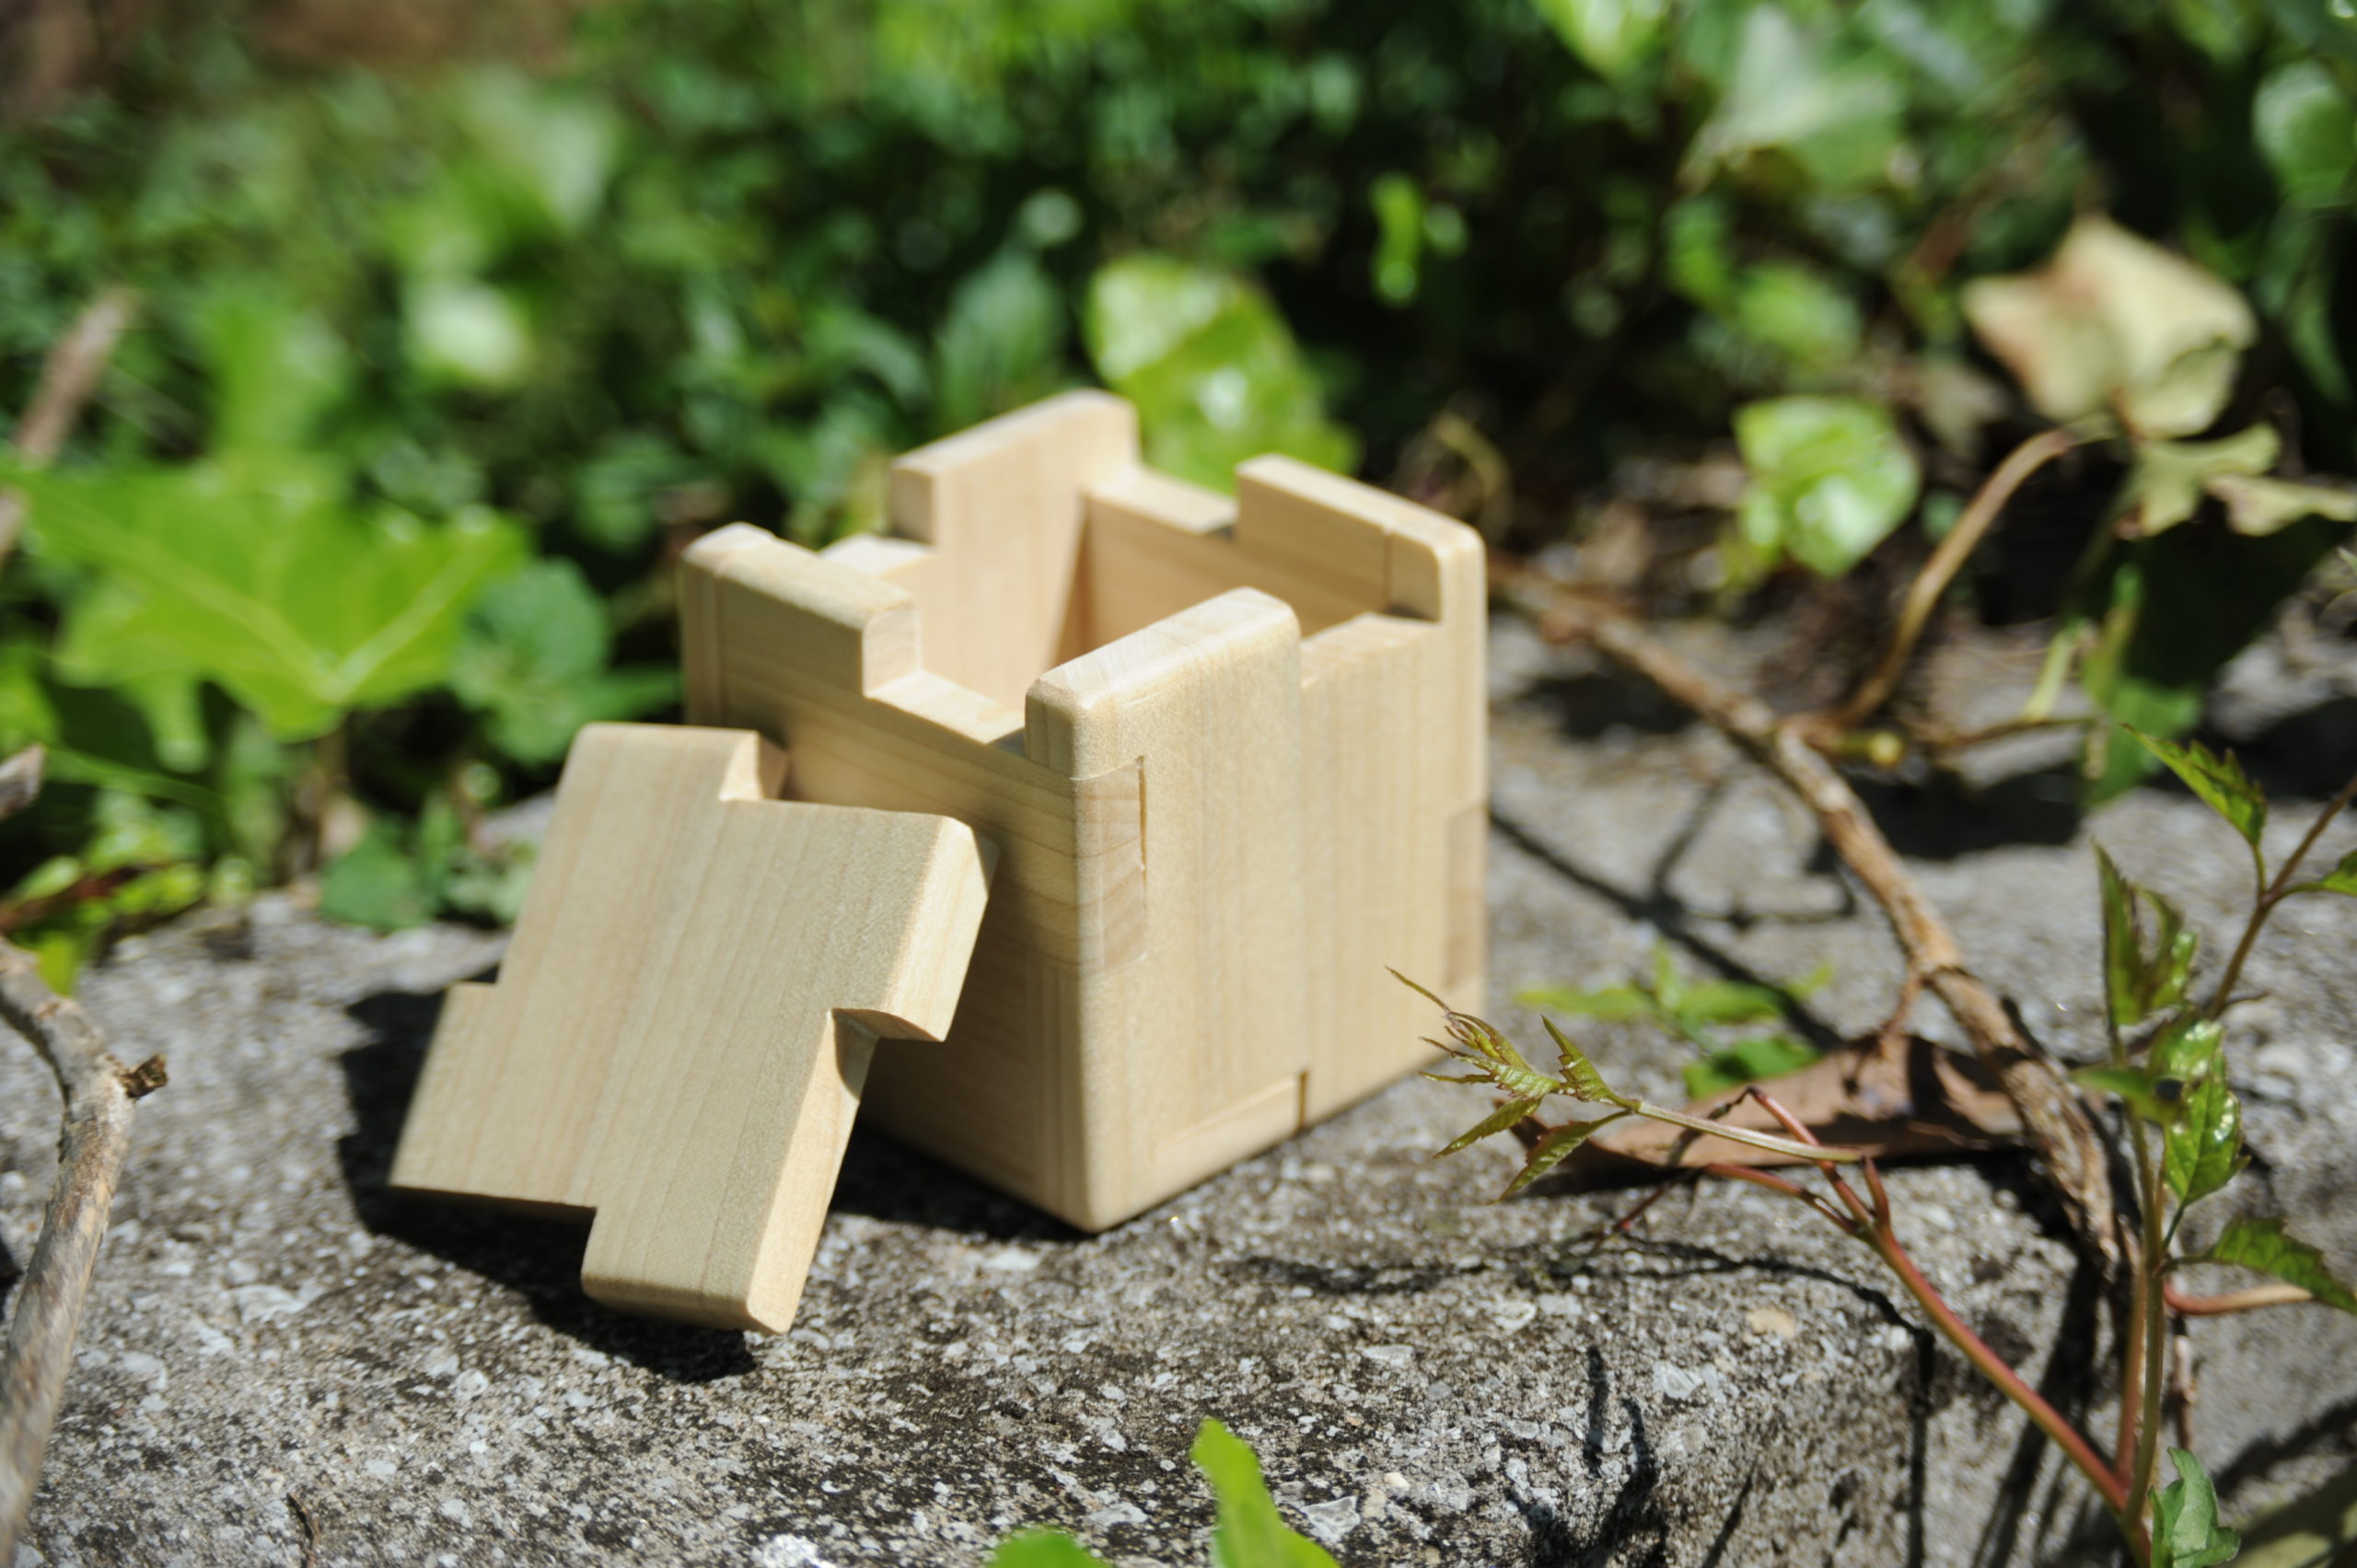
    Is there a shape (solid) which can be repeated 6 times and interlocks to form a hexahedron? I’m still not entirely sure. This may even have search results, but I never looked it up. I wanted to figure it out for myself.

    I mean, I still haven’t figured it out, but I got kind of close.

    foam core interlocking panel box

    Just thinking about it only got me to the point where I realized I needed something in my hands. My first attempt was with foam core, but as you can see from the painter’s tape, I wasn’t entirely sure this would work. The idea is there, but I think I figured out that 2 of the sides need to be different than the other four.

    balsa interlocking panel box

    So, I moved on to balsa wood because it’s very easy to cut and has a thickness you can work with. And it’s wood. More or less.

    poplar interlocking panel box (partial)

    This is where I got overconfident. I had some leftover poplar from another project so I went straight for the power tools. What you see are the panels that made it. My router ate the rest.

    whiteboard interlocking panel box

    But that was the table router, and I knew that the concept was there if I could just make one and keep all my hand parts. So, I went to the CNC router, using whiteboard because of its very uniform thickness. Also, I wanted a hexahedron I could draw on with dry erase markers for yet another project.

    final interlocking panel box

    That worked fine, but now I wanted something a little fancier so I returned to poplar. I also wanted to test my band saw skillz [sic] which are lacking yet pretty well concealed here.

    The router approach was my favorite, although I had to clean up the interior corners. On the final box, I finished the corners with a roundover bit which I think does a better job of bringing the eye around the corners and makes the box more of an object of interest.

    So, if you know the answer to my original question, I guess you can just go ahead and tell me now. I feel like I’ve done enough to not feel lazy.

    P.S. Yes I know you can just bevel the edges, but the panels have to interlock and all be identical.

  • hail album art

    hail album art

    The HAIL logo represents the 5 movements of the piece and their different meters, going from 4 to 8 (back to 4). I originally started making ‘real life’ versions of the logo because it’s just fun, but during the course of the Kickstarter campaign for this project, I’ve been doing a different version every day. I’ve tried to use these as promotional content that’s original.

    If you’re interested in how many of these were made, there are short video clips on my YouTube playlist for HAIL.

  • sphere of fifths

    sphere of fifths

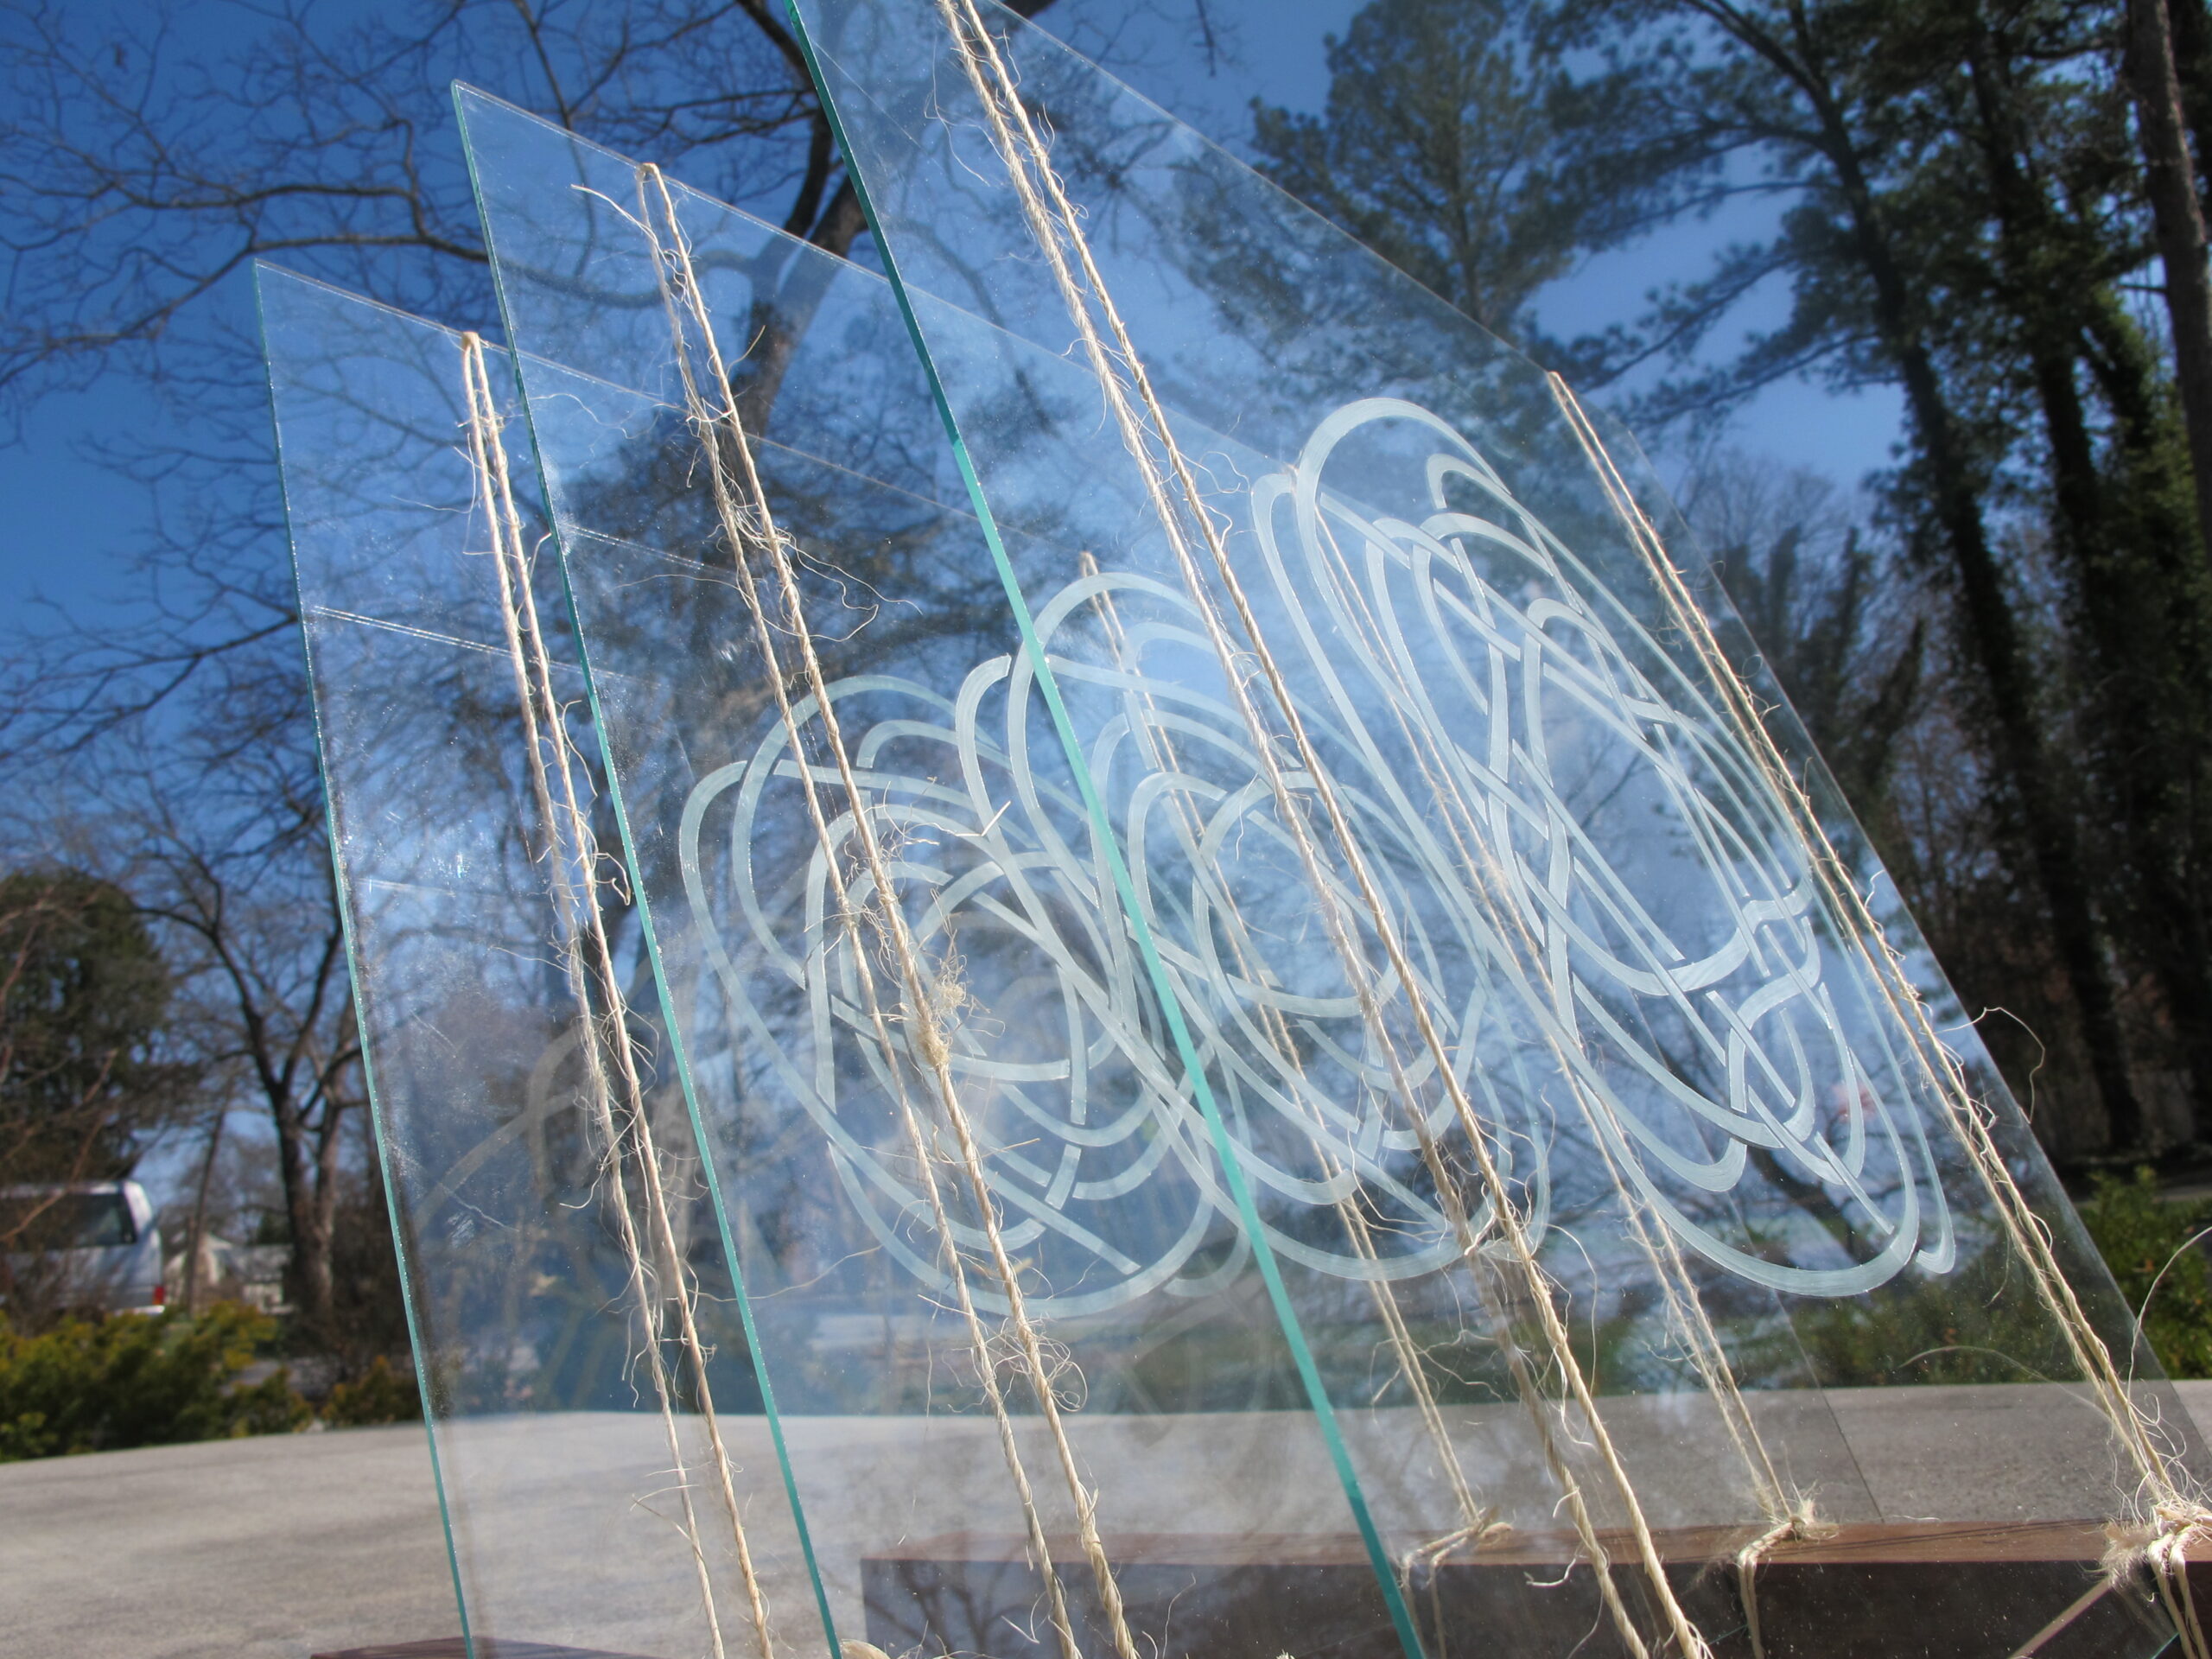
    The circle of fifths is a music theory model several hundred years old which describes the relationships between diatonic scales. It can be seen as an illustration of infinite chord progressions. Sphere of Fifths uses the idea of infinite knots to represent musical cycles, and uses pentagonal knot designs of varying complexity to bring the music theory model into 3 dimensions. When the light source is changed to different angles, shadows from the opaque parts of the glass combine in complex shadows; the viewer of the piece gets to decide on some of its content by taking this into consideration.

    The piece appears to be held together tenuously, the same way a motive in a good piece of music will hold everything together without having to overshadow things. The wood and strings are reminiscent of orchestra instruments. The knots themselves are similarly suggestive, but not directly representative of a circle of fifths diagram.

    This piece was donated to the KJDS‘s 2014 fundraising event.

  • illumination 2014

    illumination 2014

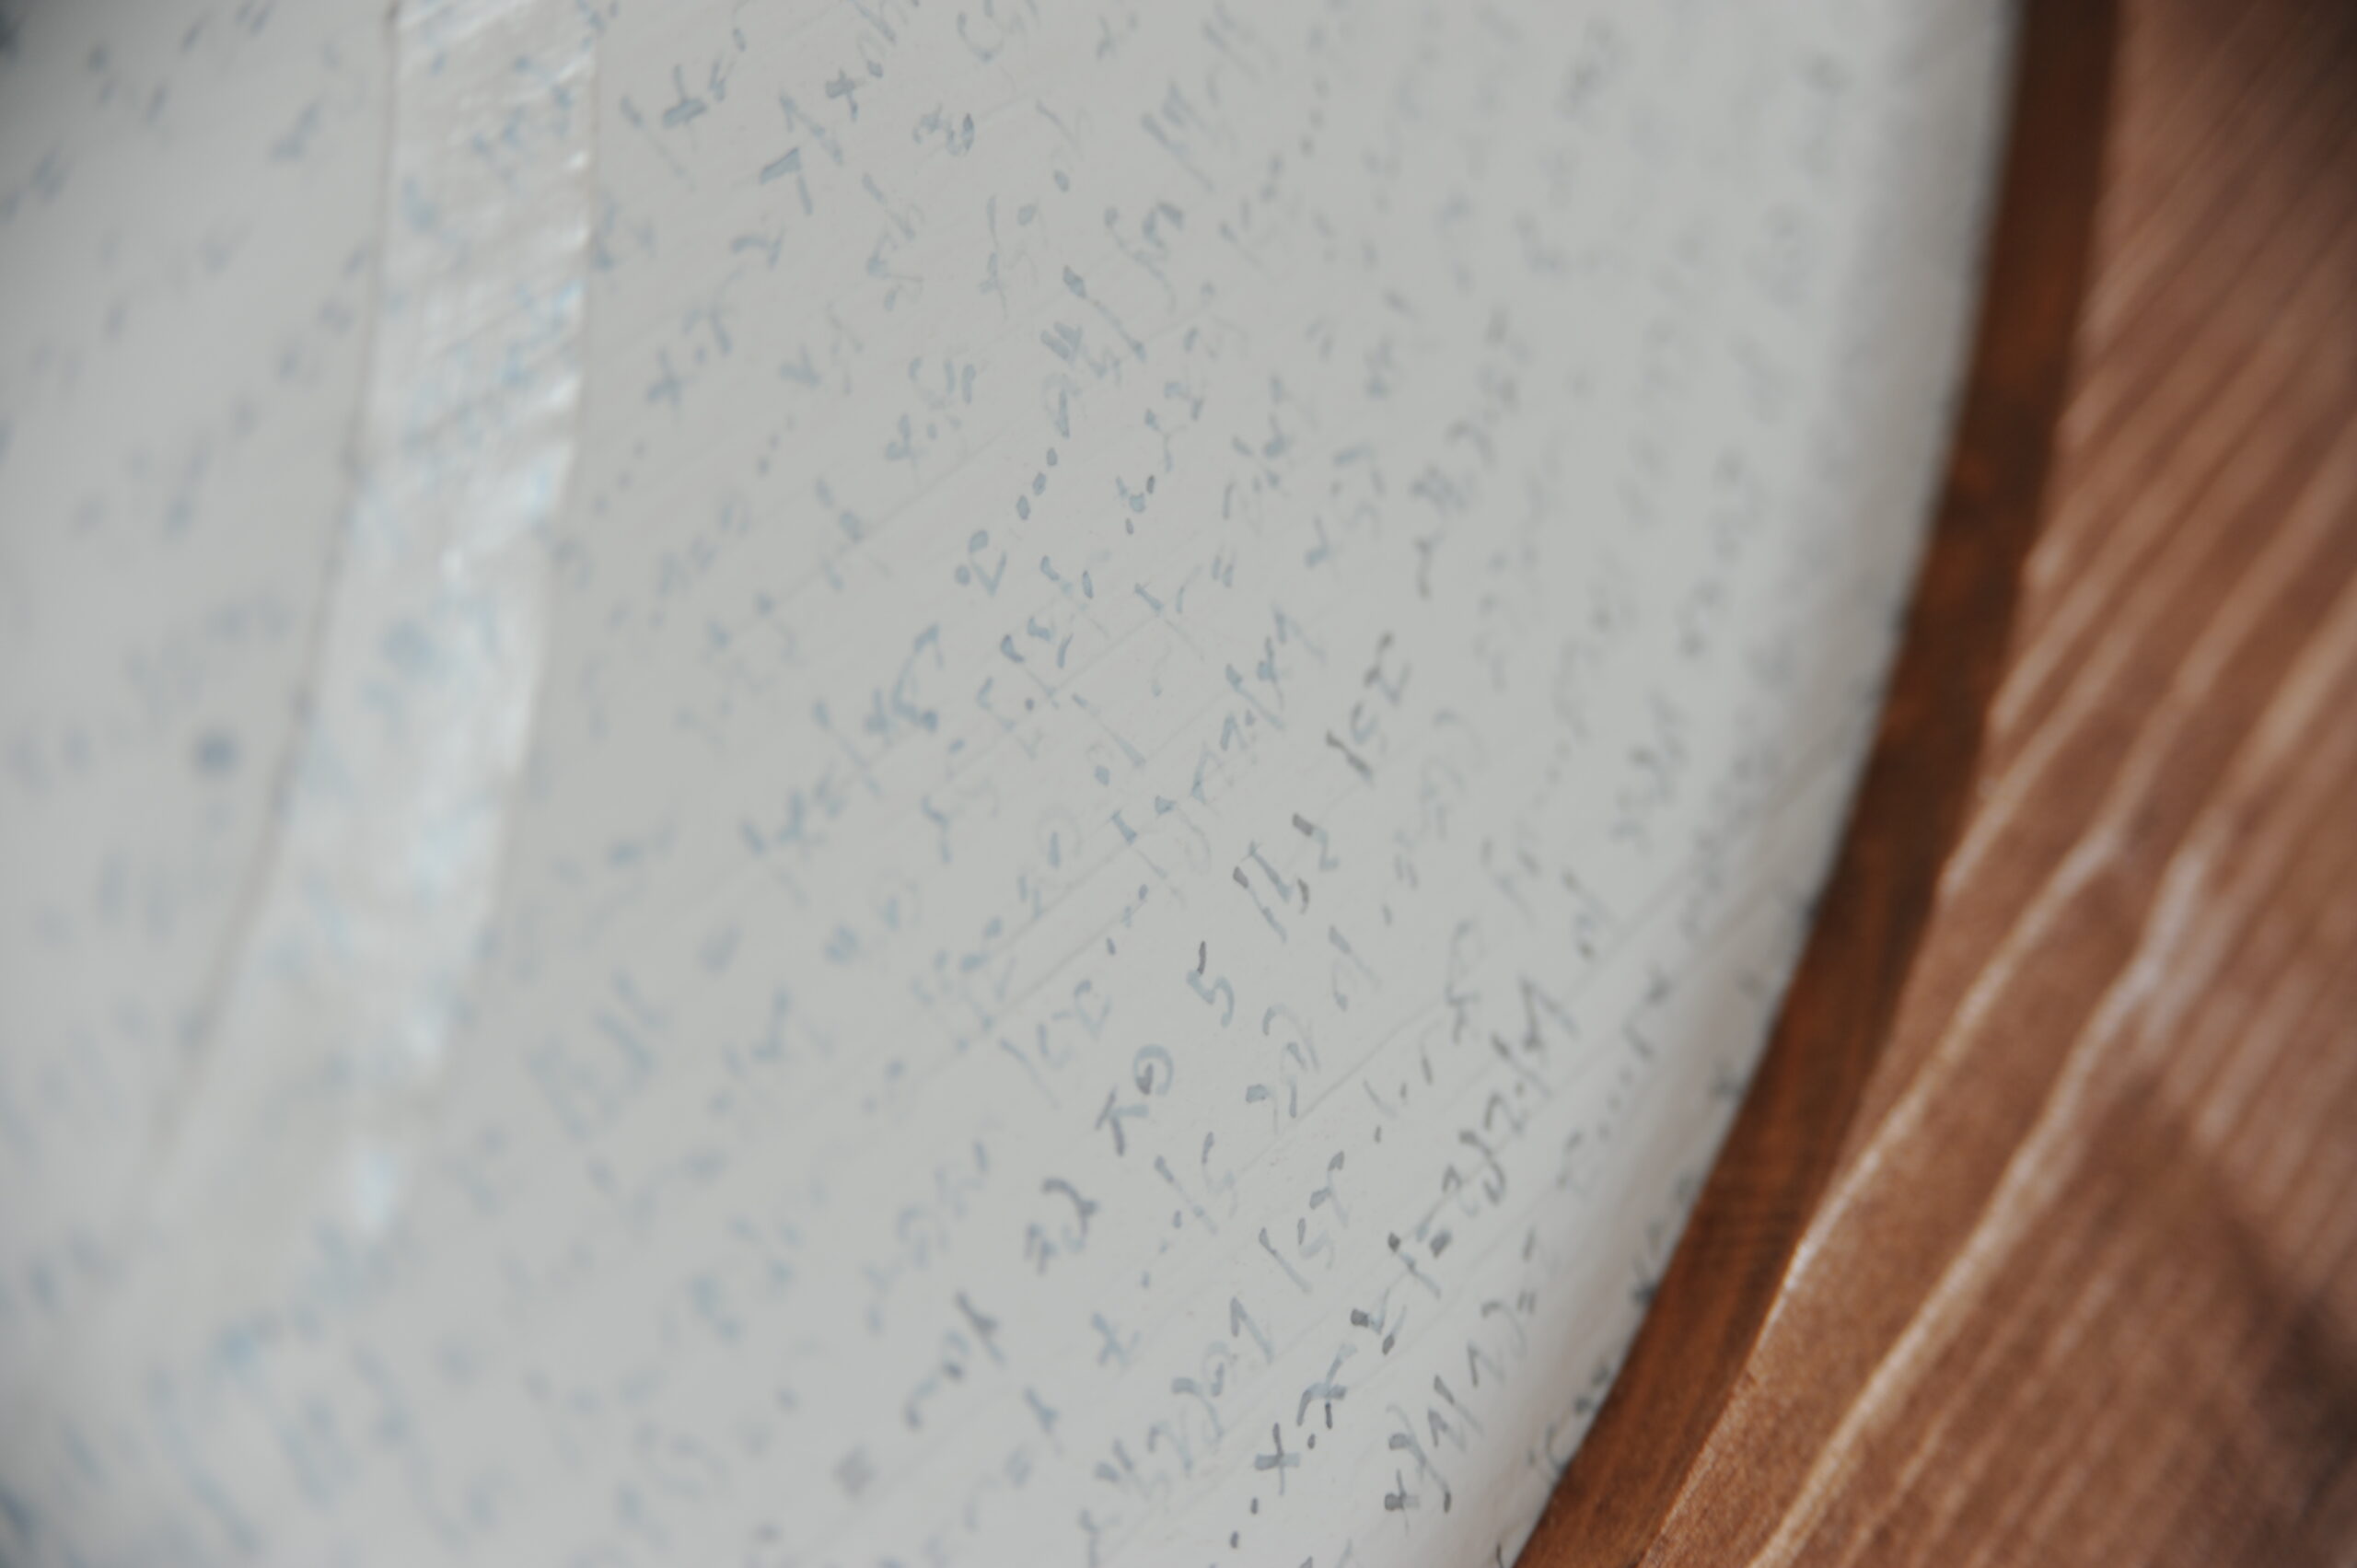
    This piece was made for a show at the Fountain City Art Center. It was my first big knot design. The knot itself was cut out of paper, fixed to the support, and painted. The writing starts in the middle and spirals outward.

    The circle became my journal while I was working on this.

  • proof

    proof

    background

    Students who graduated around the millennium from Carson-Newman College were invited to submit recent works for a show to coincide with the university’s 2013 homecoming. The purpose of writing so much about this piece is mainly to explain my artwork to the other people in the show, since it was done partly for them.

    A geode is a regular-ol’ looking rock that, when cracked open, reveals a secret world of gemstone. If someone handed you a geode, you would have to take it on faith that in the center were amethysts. It would not be until you destroyed the rock-ness (the smooth, round, appearance of something that looks uniformly rocky) of the geode that you discovered its real nature.

    Years after my senior show in 1999, I decided that 1) instead of trying to maintain the pristine nature of several of the pieces and 2) as a way of ‘moving on’ since they physically took up a lot of room and actually got in the way of working on other stuff, I would burn them and save the cremains for a future project.

    The development of my optophonetic alphabet has been an ongoing project since high school, and as such has become a part of my artwork. It, along with keeping a journal, was something I was always working on through college.

    Proof that I was Where I Said I was at the Time I was There
    wood, paper, paint, cremains of 1999 senior show
    2013

    process

    The cremains were the material I had first, so they were good to go.

    I had the general idea for the form in my head, but I couldn’t work out if it were possible to really exist when I sat down to measure materials. I tried sketching out the form, but I wanted to be sure it would really occupy the space I wanted it to. So, I used SketchUp to create a model on the computer. As I was creating this model, I decided that 21 inches in any direction was a good size; each cube would be a 1-inch cube, for a total of 2321 cubes.

    In order to use wood for the basic structure, I planed down 2 x 12s to get precise 1-inch pieces of wood to work with. Thanks to my dad for this, because he suffered through running boards through the planer for 2 days with me. After that, I built the structure according to the model.

    not angry, just concerned about time

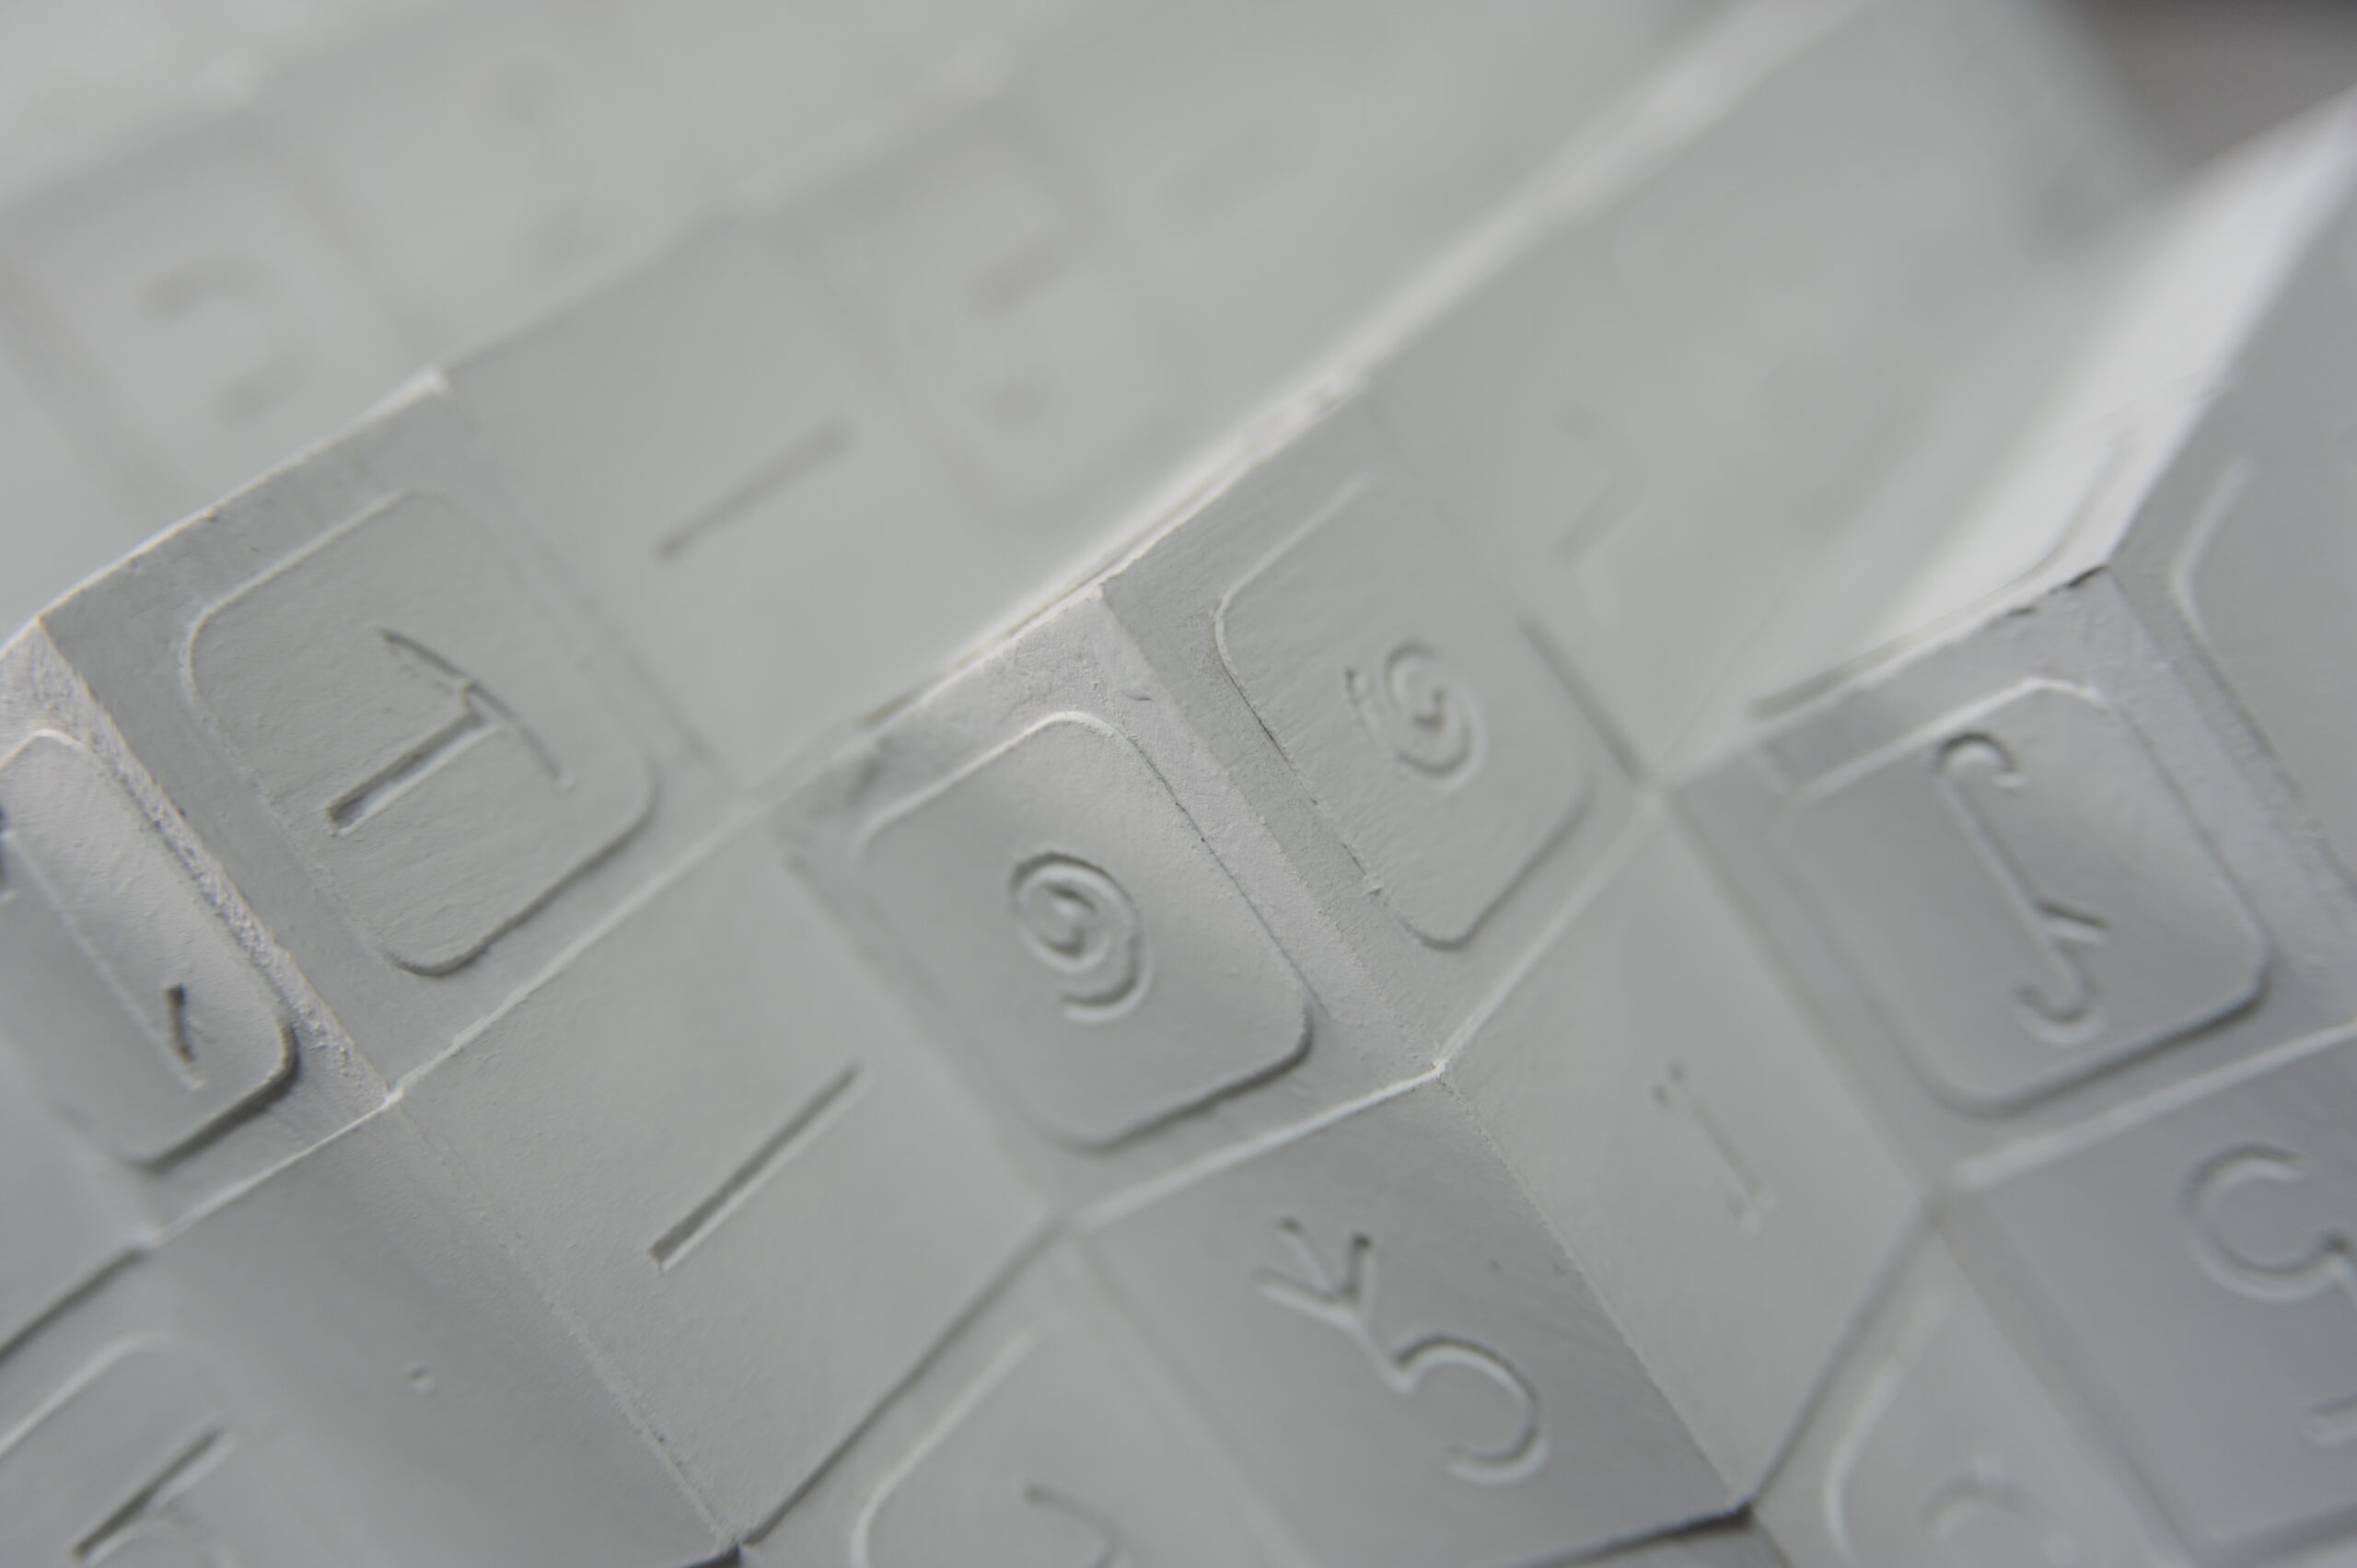
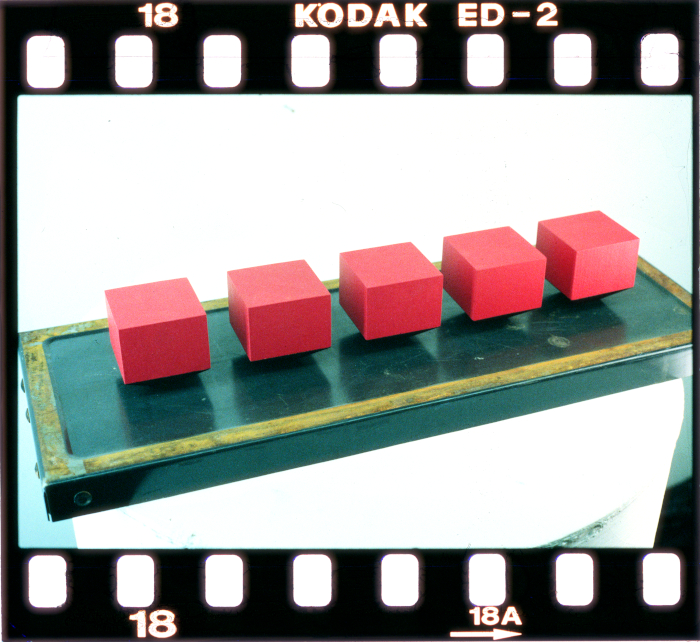
    With the cubes stacked the way they are, only 1326 faces of these cubes are visible to the outside. I used this number as the number of characters I would use for the written message which would appear on the cubes. The form as a whole is based around a cube itself, and so characters on the faces could be read from six different ways. To easily type my message, I needed a font, which I created using FontForge.

    I also needed a 2-d way of plotting where the characters would go in 3 dimensions, for which I used Excel (which I like to refer to as Microsoft Grid, since that is often how it it used). After writing a message, I used Inkscape to create .DXF files for use with my paper cutter. As the letters were cut out, I glued them in the right place on the structure and painted it with many, many coats of primer.

    meaning

    The message written all over this piece has a plain meaning. I wrote about being in school with the other people in the show, about how lucky I was to be around them, and the sense of healthy competition which pushed us all to take things to the next level.

    me actually putting some last minute paint on

    One thing I still like imagining is the pieces in the gallery at night, with no one there, but the presence of the artworks being there, sort of representing each of us. For me, the whole show was about creating a monument to our time at school together.

    time lapse rotation, so you can see it from most angles

  • recursive antecedent quick response code experiment

    recursive antecedent quick response code experiment

    What, you didn’t think it would work…?

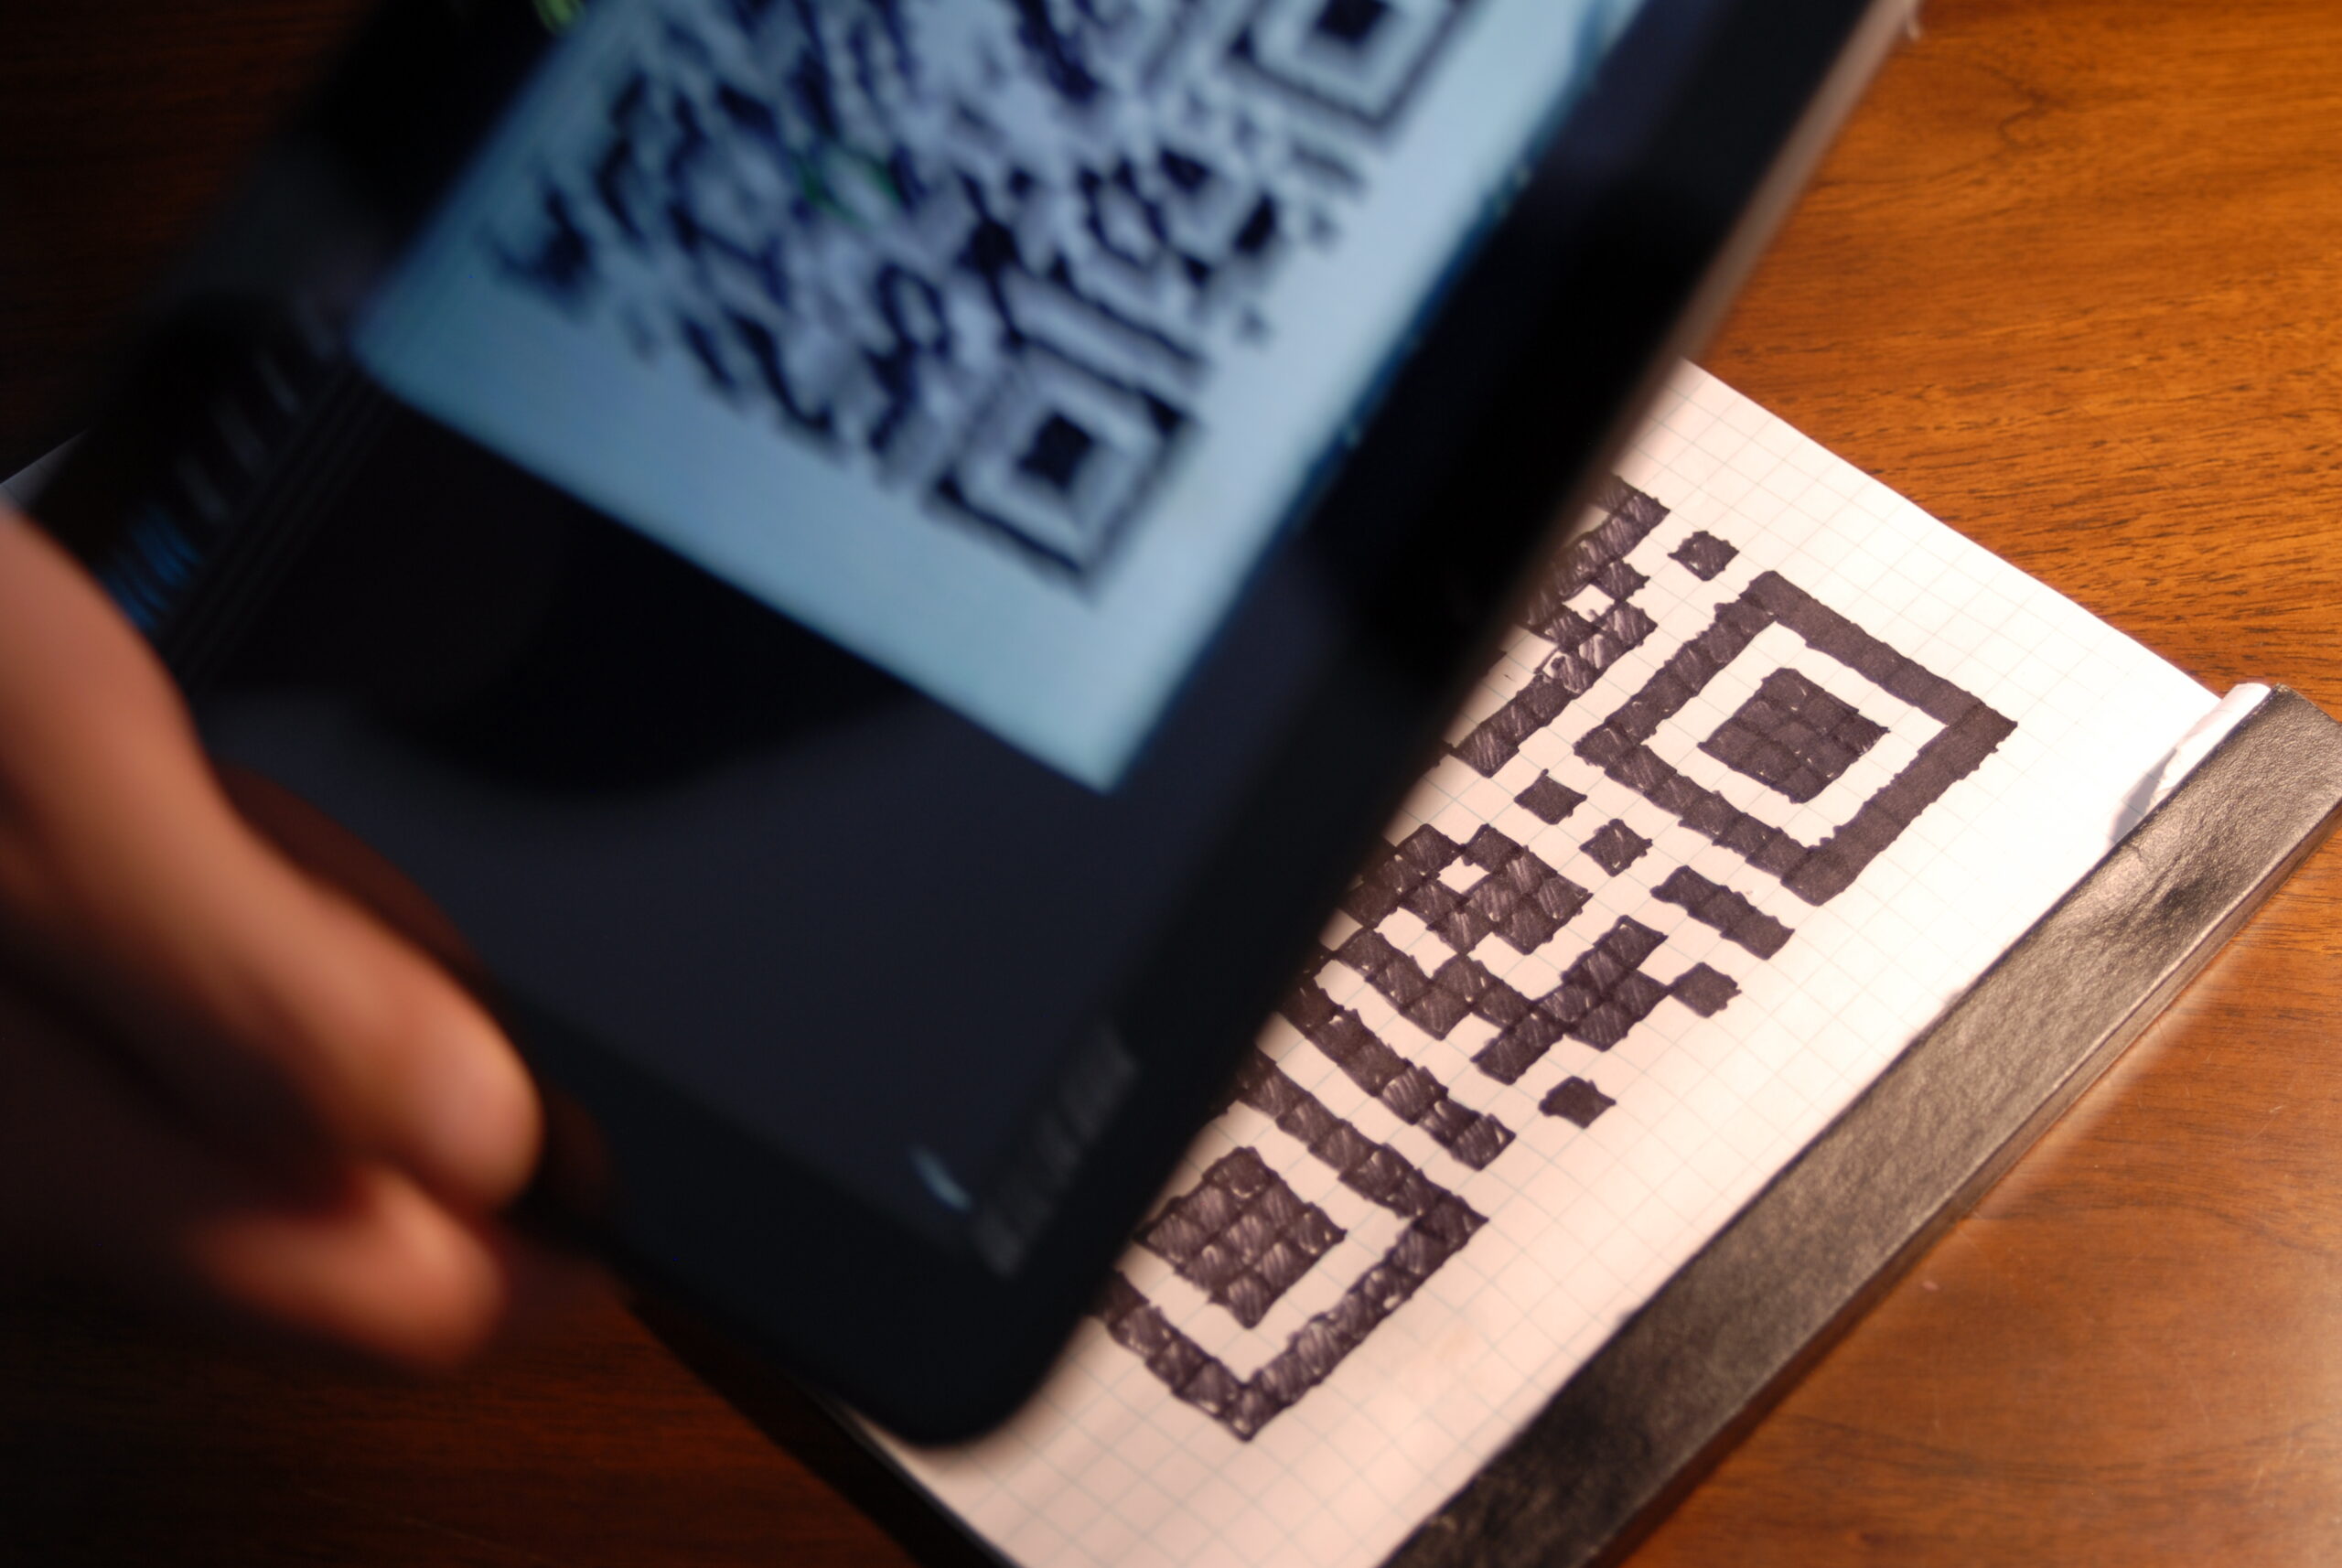
    If it’s not obvious, this is a time lapse video of me constructing a QR code which links to a video of me constructing a QR code which links to a video of me constructing a QR code which links to a video of… you get the idea.

    This gallery contains full and detail views of a QR code pointing to this site. This was one of my first successful QR code paintings. After getting the code, I used a Sharpie to draw the dark squares.

    Take a picture of the screen at the end of the video to see it in action. See you in a minute.

    resources

    To photograph, I used a Nikon D200 and a timer trigger. The photos were then dumped in Windows Live Movie Maker and the video was uploaded to Vimeo.

  • martian / alien painting

    martian / alien painting

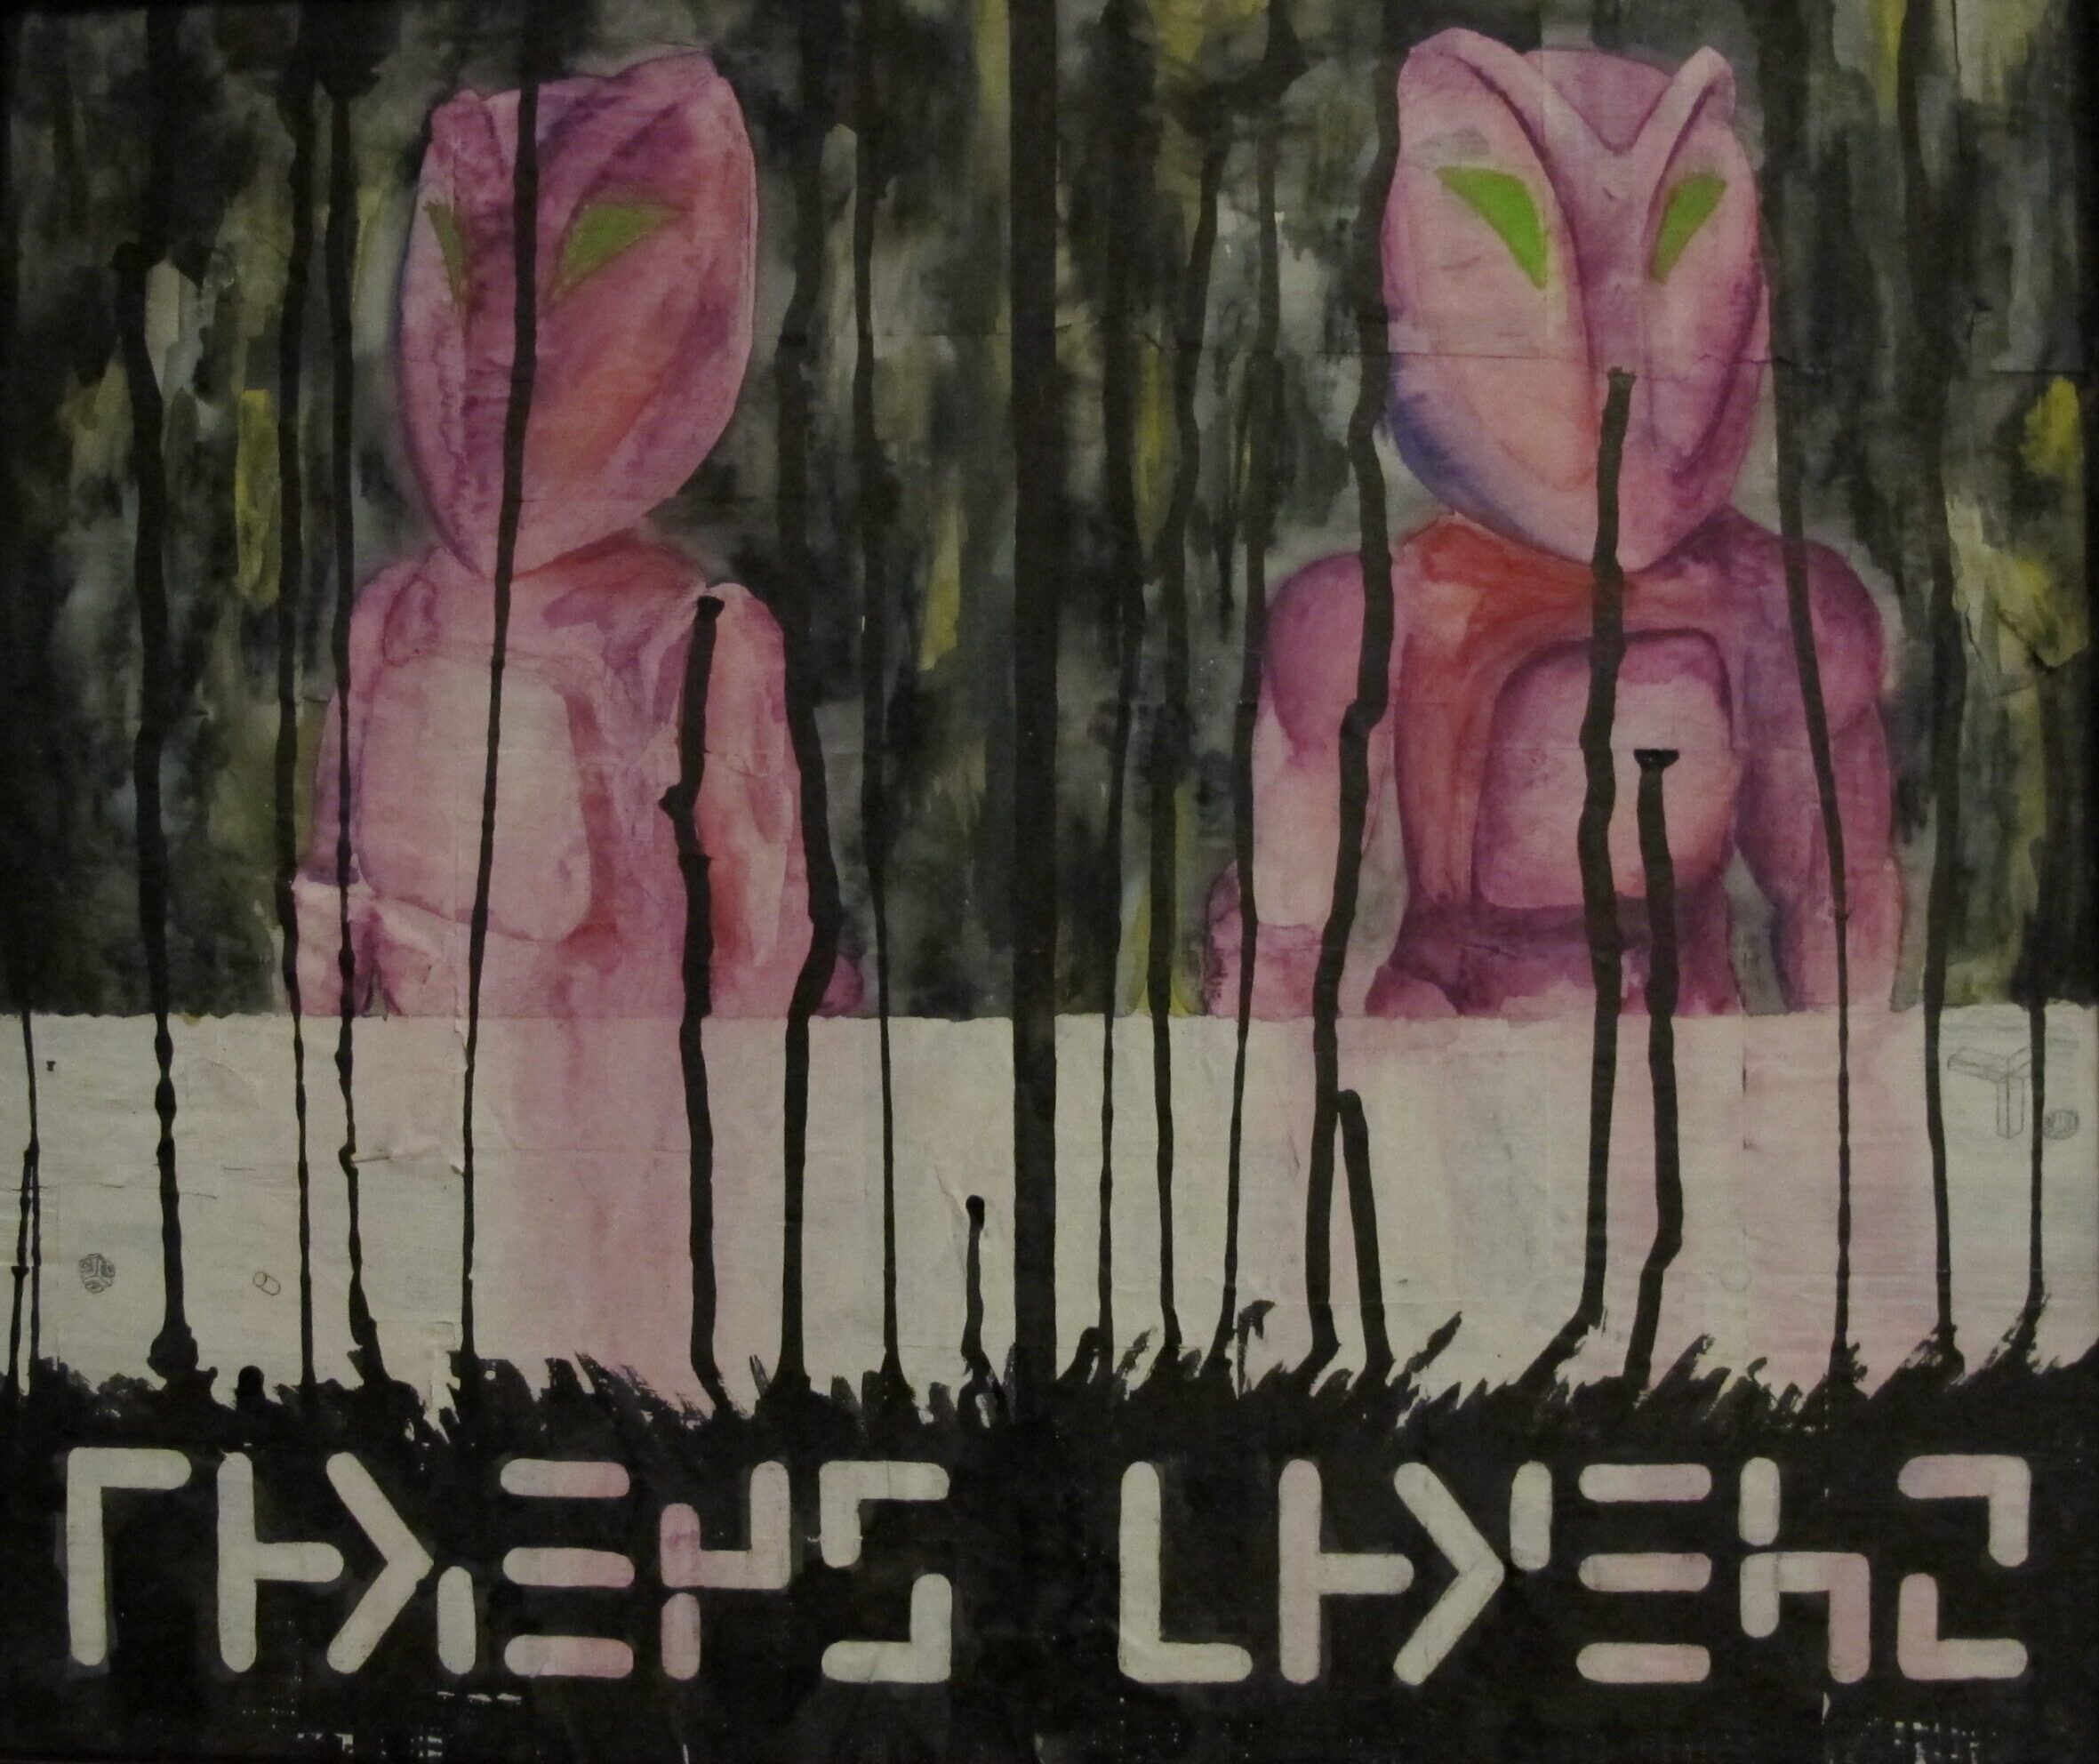
    Normal 80s kids had Legos. My brother and I had Construx. I had the Space Series stuff that glowed in the dark, and Jerry had the purple Alien stuff. It didn’t seem odd at the time, but since he had two of these figures, he named one Alien and the other Martian. This painting serves as a monument to the days before our minds were clouded with things such as sub-classes and parent categories.

    The text(?) below the portraits are from 2 different decals (and yes, I know that one is just the other upside-down) from the Battlestrike set. I like to believe one reads martian and the other alien.

    The painting was done on a board covered in old Construx instructions, which peek through here and there. Other media used were ink, tempera, and watercolor.

  • my name

    my name

    Below are real life implementations of a logotype of my first name. The first version of this was created when I was in middle school, c.1990. After taking art more seriously, or at least doing more art, I have been in search of a symbol or mark which represents me. I returned to a version of the original, adding 2 shades of red (to emphasize the chromatic aspect of אָדָם). The diagram here shows the symbol on a 60° axonometric grid, which reveals some exact proportions, namely that the first 3 letters together have the same area as the last letter and that the entire area is made up of 10 equilateral triangles (shown in light blue).

  • student work

    student work

    I studied graphic design in college. When it came time to fill a gallery with my best work, I used it as a chance to create all new sculptural works. I’m not sure why this was allowed, other than nobody had tried it before.

    Even at the time, I didn’t think of these pieces as sculpture. I thought of them as ideas that had 3-dimensional instances. Proportion, spacing, symmetry, rhythm, symmetry: those are all design things.

    Decades after the original show, only a few pieces of concrete and wood remain.