fbpx

Category: partial dimensions
  • axonometric tiles

    axonometric tiles

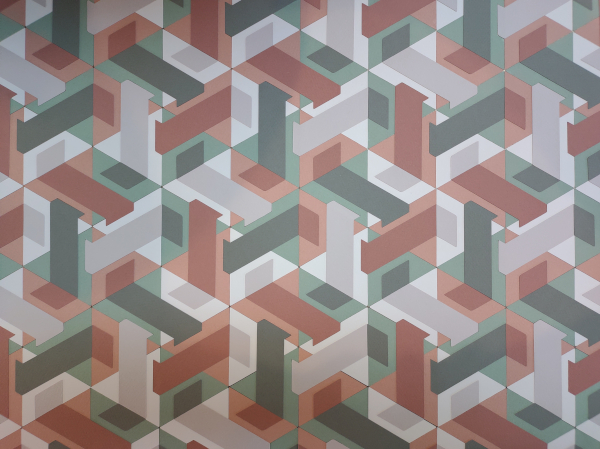
    This piece is an exploration of knots as lattices.

    Each line segment traverses four triangles. The pattern contained in each group of four triangles includes two pairs of rotated copies.

    I chose cut paper as the medium. Physically lining up a grid of cut triangles is a fool’s errand, so I chamfered the corners of the larger triangles. This meant that whatever substrate I used as a background would show through the gaps, so I started out by painting a panel gold.

    I constructed the panel out of 1/8″ material with 2″ strips on the side.

    Starting from the middle was the easiest approach since I could line up the edges of the first triangles perpendicularly to the panel. Then, I worked my way outward.

    I let the edge pieces overhang and used a little extra glue to add rigidity to make it easier to trim the edges at the end.

    I would have done more of a stop motion time lapse, but I was too nervous I would stick something down in the wrong spot.

    This is a two-part piece. The small section indicated in the diagram here makes up the entire lattice. There are several versions of the fundamental component, such as the one mentioned earlier, so this is just the one I chose. However, with the use of six colors, I’m pretty sure this is as basic as it gets.

    The second part was constructed much larger, since one at the same scale seems a little puny. This way, they end up being more similar in size.

    I almost started out with cutting a hexagon first, but decided to be much more cavalier…

    …with a circular saw.

    You may be wondering if a saw blade just shreds the edges of paper like this. It does, but they were fairly easy to clean up with a knife.

    Also, my plan was to seal both of the pieces with mulberry paper and varnish which gives a really cool look. The paper alone looks almost like it was just printed out. The final result looks a lot more natural.

    This piece was on display at the City County Building in Knoxville, TN in 2024.

    It was most recently on display at the d’Art Center in Norfolk, VA as a part of the Fibrous exhibition.

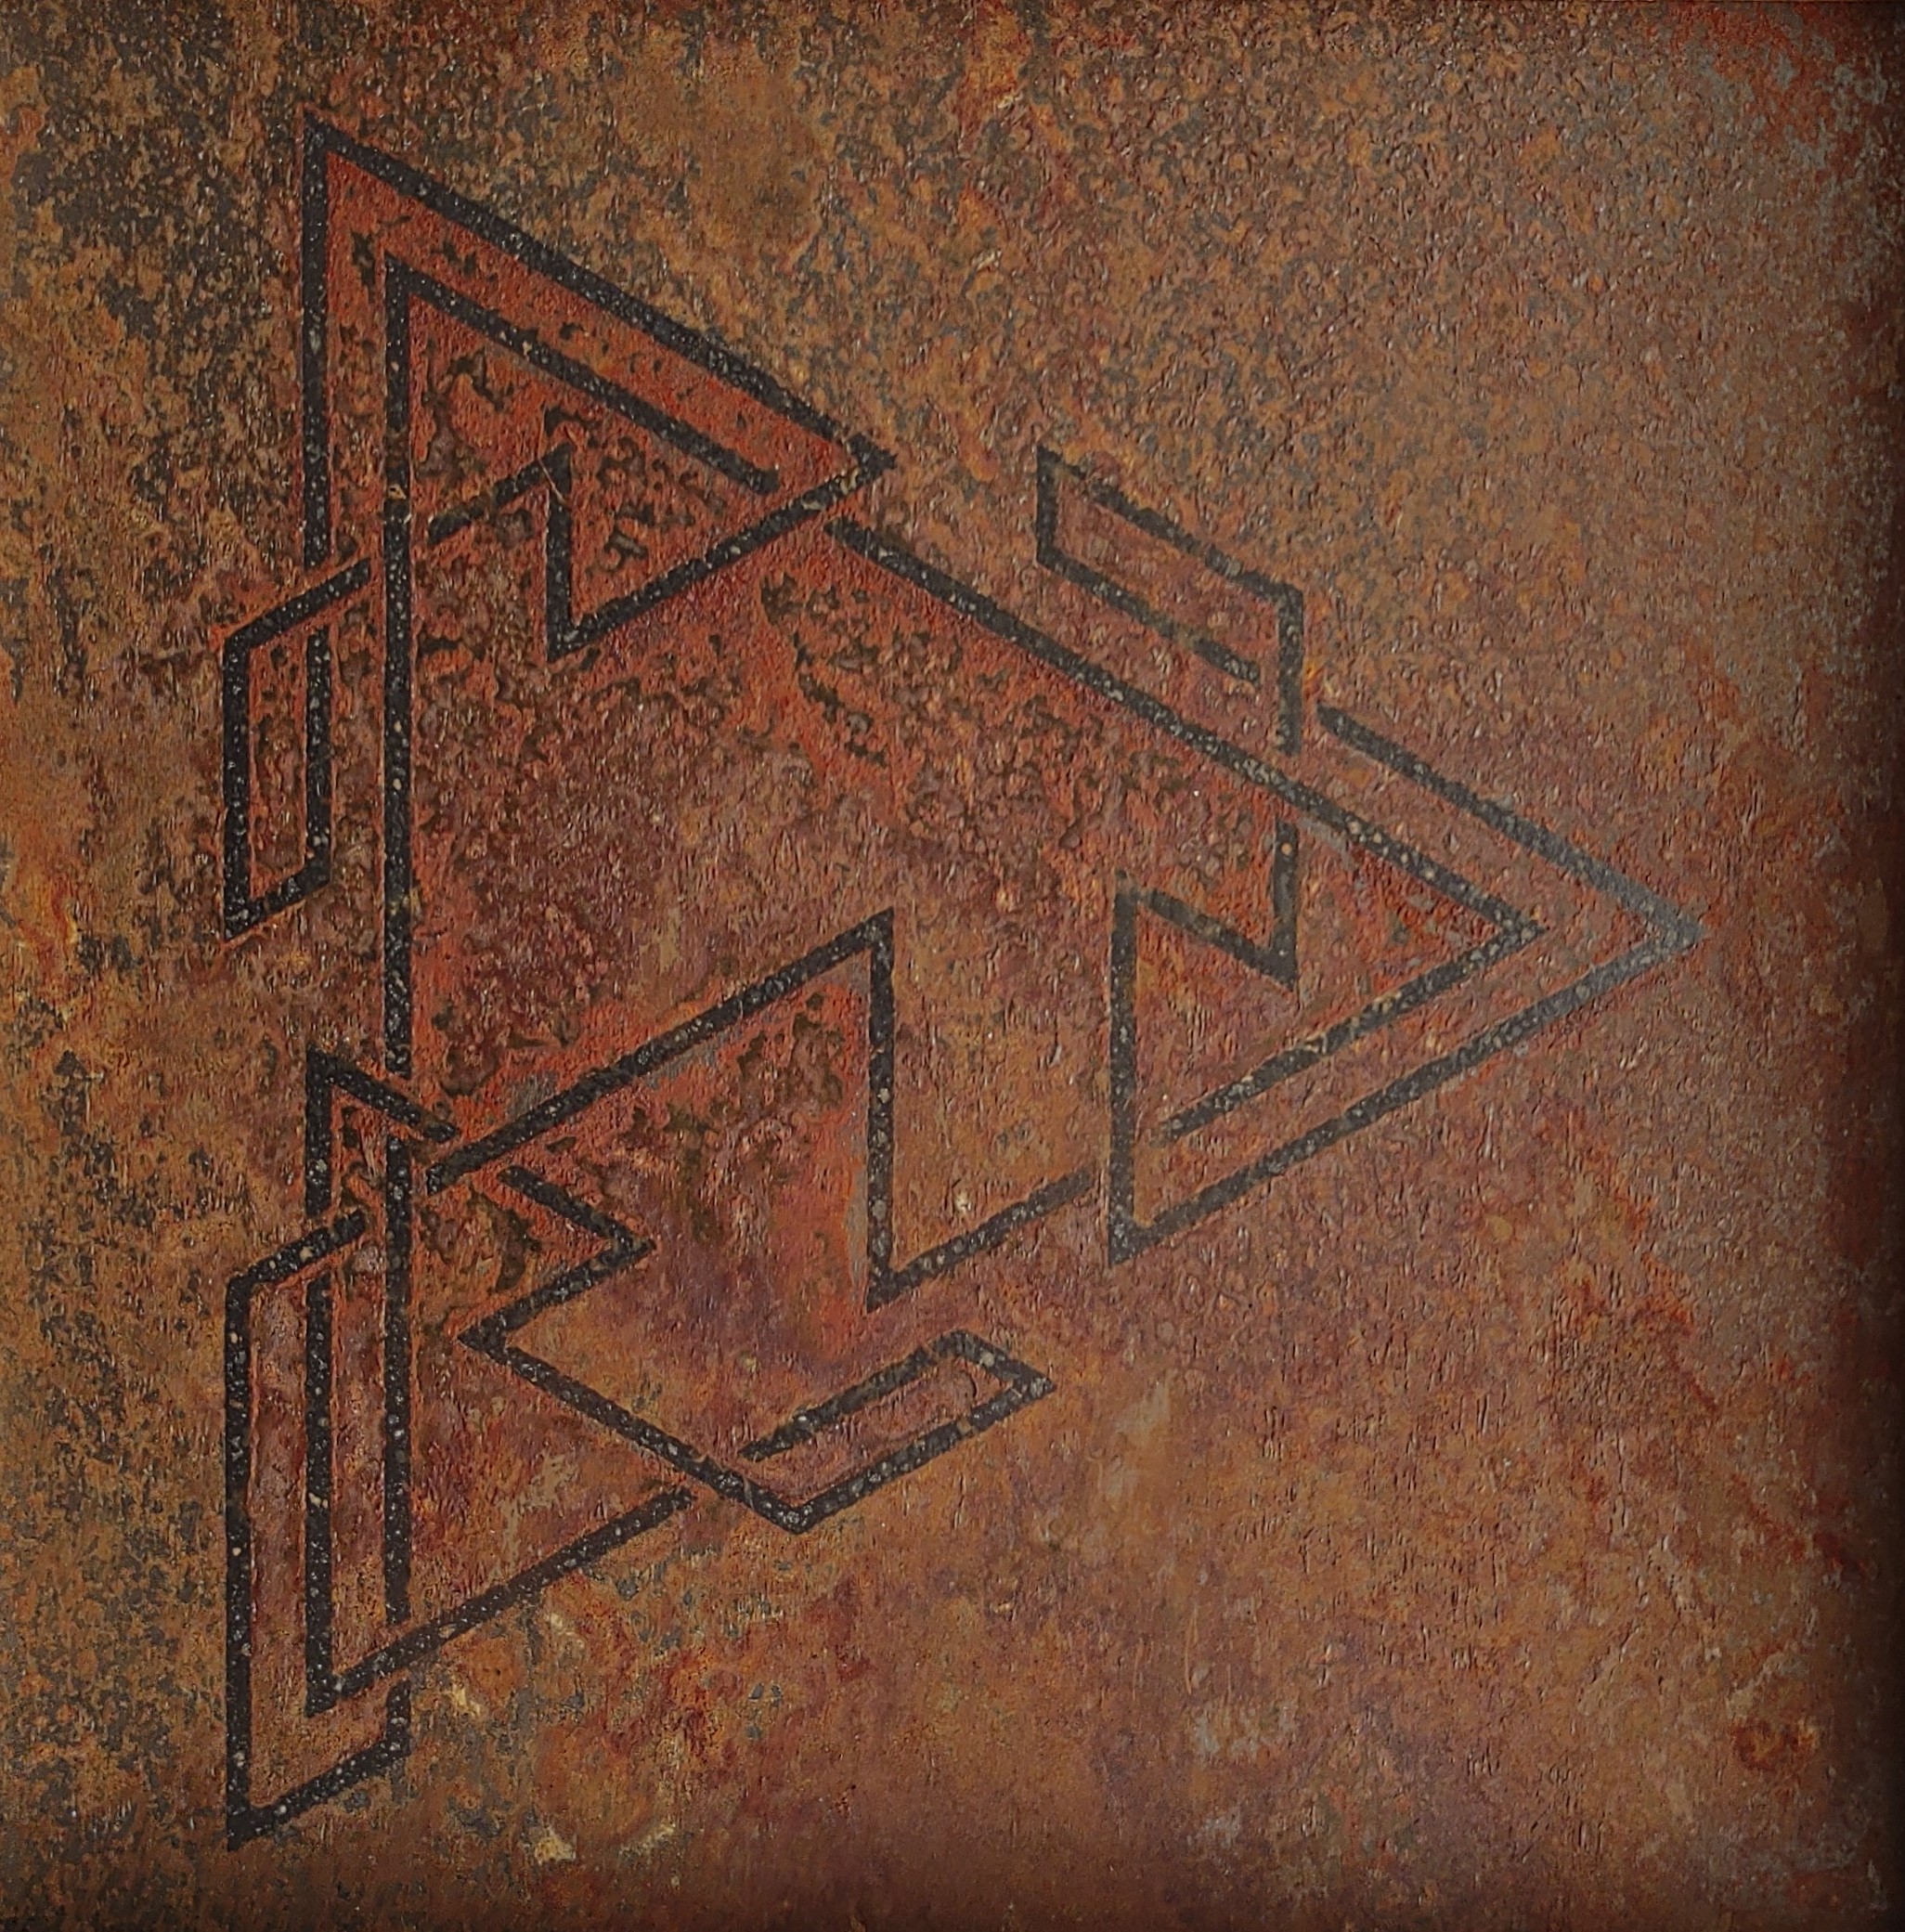
  • double quad knot

    double quad knot

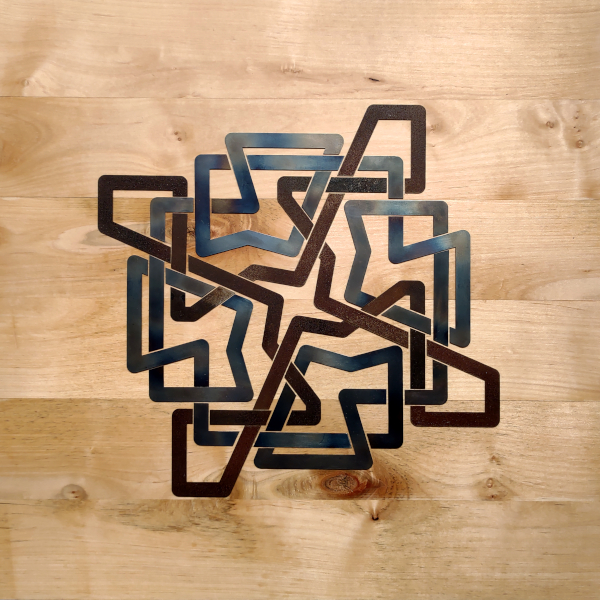
    This knot is (my version of) very straight forward. Two unicursal knots with four-fold rotational symmetry intersect, interacting with one another as they do. In this way, each knot acts like a line since the lines making up the individual knots also have to weave in and out of one another.

    The metal is thin steel. The two different colors of steel were achieved by heating until the desired color appeared and quenching in linseed oil. The pieces of one knot were first lightly oxidized, so that the rust was burnt into the metal.

    The backing is solid maple rubbed with Danish oil and polished to a glass-like finish.

    Limited edition serigraph prints of this design are available to order from my online store.

  • cistercian counting bands

    cistercian counting bands

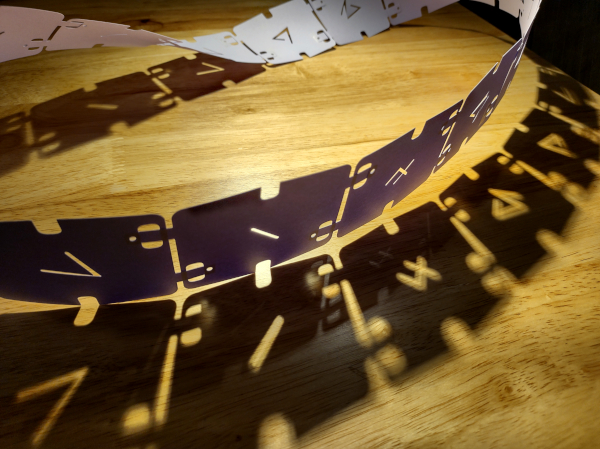
    This piece demonstrates the difference between Listing bands with odd and even numbers of twists, as well as band components with two types of asymmetry. One photo on its own doesn’t really give enough visual information to understand the shape. Multiple photos just end up being confusing because different angles look like completely different pieces of art. Videos make this much easier.

    The numbers punched through the bands show that a cycle of numbers will repeat as long as the cycle is an odd number. (Even numbers only work with band components that are completely symmetrical.) In a design like this, where it is easy to view numbers from many angles and orientations, most Hindu-Arabic numerals aren’t ideal because they will often look backwards. Because of the twist in the loop, each number would need to appear forward and backward at the same time anyway.

    Cistercian numbers were an inspiration for the symbols I created for this piece. Someone never having seen these symbols could figure out what value each one has, because each numeral’s value is just the number of line segments.

    paper version, testing shadow projections
    pile of cut out numbers

    The two types of symmetry used for the band scales are shown here. In order for the ends to meet at any point in the band, a single twist is necessary for one, and a double twist is necessary for the other.

    Can you tell which is which? You can always cheat by looking at the pictures and video.

    One added bonus of bands this size is that the structures are self-supporting.

  • negative single twist components

    negative single twist components

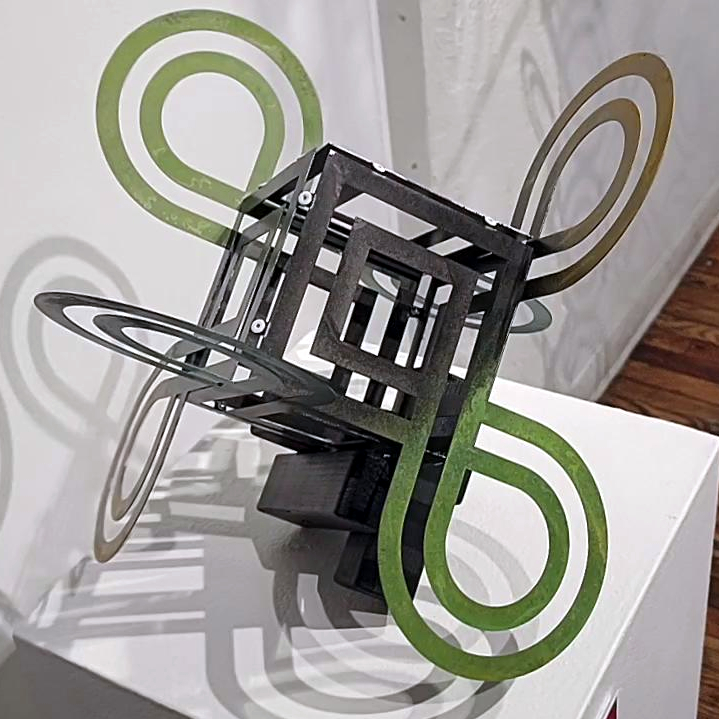
    This piece uses a single component in two configurations to form a hexahedron (cube) and helix.

    The component itself is a negative knot (it is knocked out of the overall shape). The knot is a simple twist with one rounded side and one angular side: a circle and a square.

    a diagram of the component
    the paper versions were significantly floppier than metal, but I still needed to make this to see if the size was right.
    just for enjoyment: as the dye oxide was setting and the metal was cooling, the components were on a tube above the sink. they made a great sound if you ran your hand along them. it looked pretty cool too.
  • branching unknot

    branching unknot

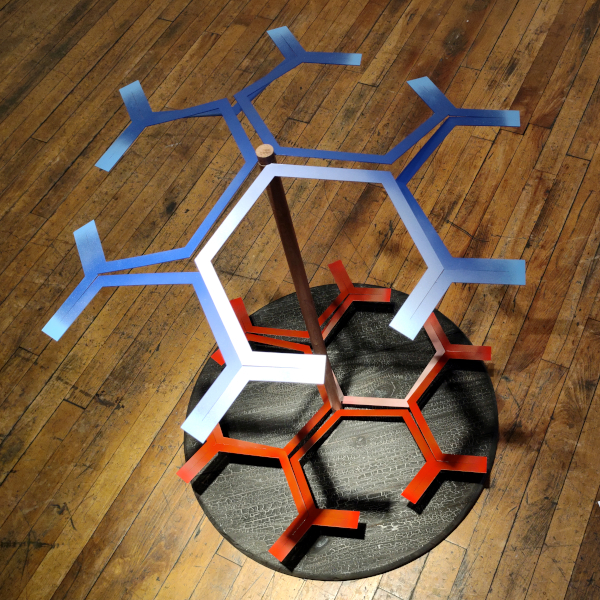
    Two unknots are arranged vertically above a charred wood base. The shape of the metal (painted aluminum) makes self-supporting convex and concave arrangements possible.
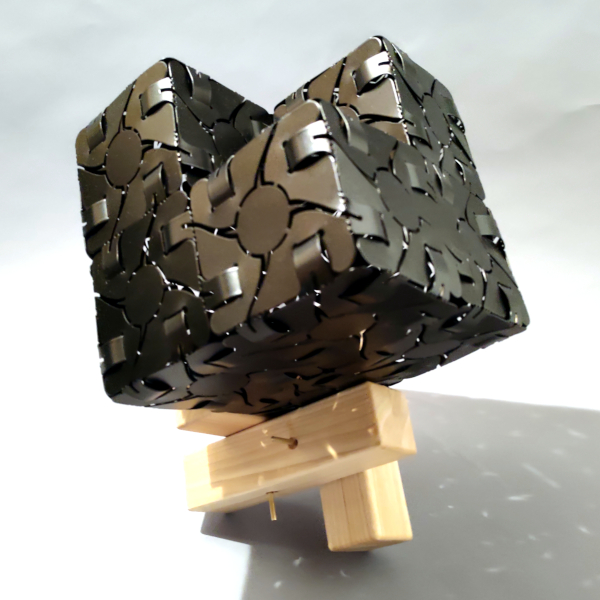
    An unknot is a simple, closed loop. This particular one has sharp angles, but it still unfolds to something equivalent to a circle.

    My interest in the unknot relates to the rules you have to follow to make a knot diagram. A branching path presents a problem when trying to represent the over- / under-lapping of crossing paths: what happens when a path branches? Turning a path into an unknot by using a copy of itself as negative space centered in the branching path removes this problem.

    The charred wood of the base resembles embers in light, and glows in the absence of light.

  • woven tile hexahedron

    woven tile hexahedron

    Copies of a single metal tile are woven together to form a cube with a concave vertex.
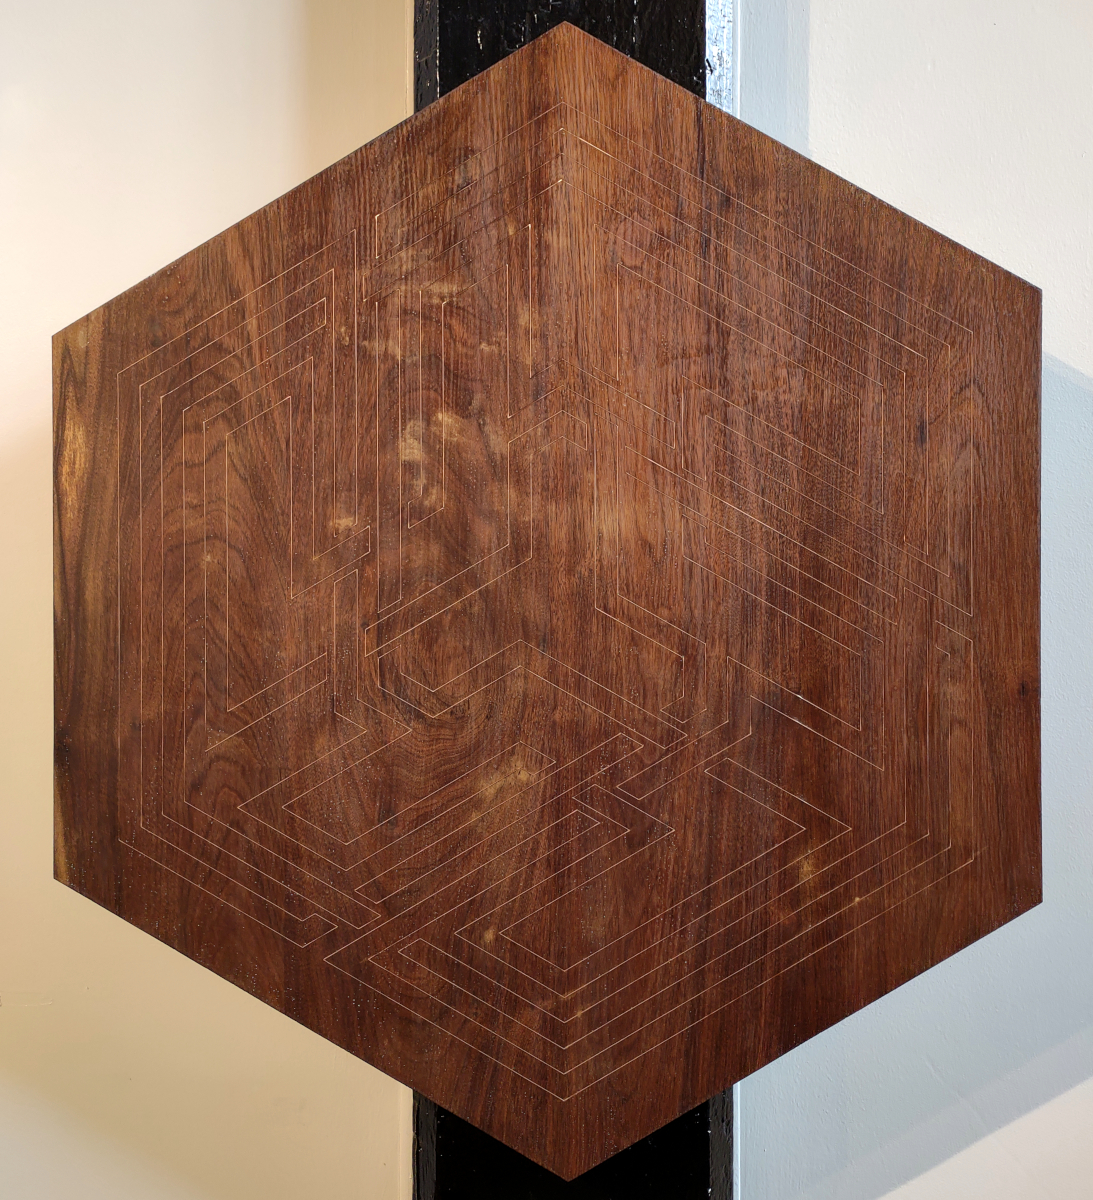
    Any form based on connected cubes can be created with this tile.

    Assembly is a matter of bending the tabs just enough to they curve into the next tile’s slot. The ones on the corners are more difficult, but putting everything together took less than an hour (the way I remember it).

    This piece was recently on display at RED Gallery as part of an A1 Lab Arts group show.

    Three rectangular solids make up the base. Brass pins hold the three pieces together without glue.

  • isometric hexagonal lattice

    isometric hexagonal lattice

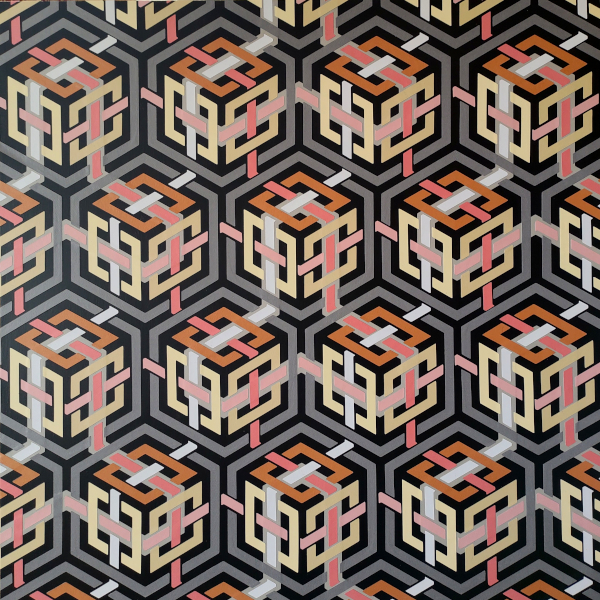
    A three-hexagon structure repeats to form a lattice made of knots.

    A painted wood panel makes up the background with cut paper pieces as the knots and lines. I used templates to align the paper on the panel.

    A much smaller detail version of this piece was on view at the City County building in Knoxville in 2023. It now lives in New Hampshire.

    time lapse assembly with some original music that seemed appropriate
  • metatronic solid face (hexahedron)

    metatronic solid face (hexahedron)

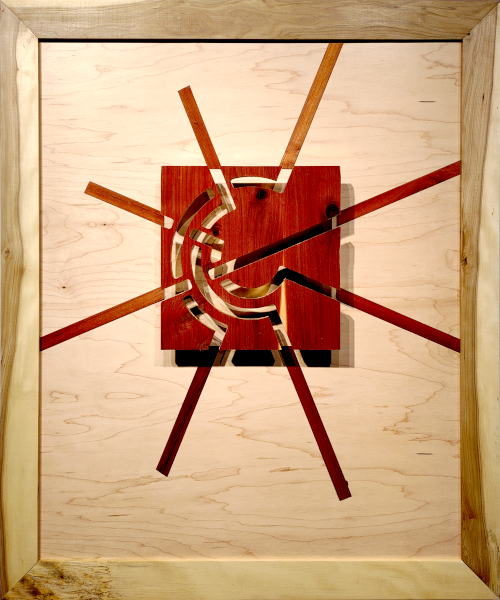
    A single shape shows four negative paths curving around the center where they would otherwise intersect. The resulting arcs weave over and under one another.

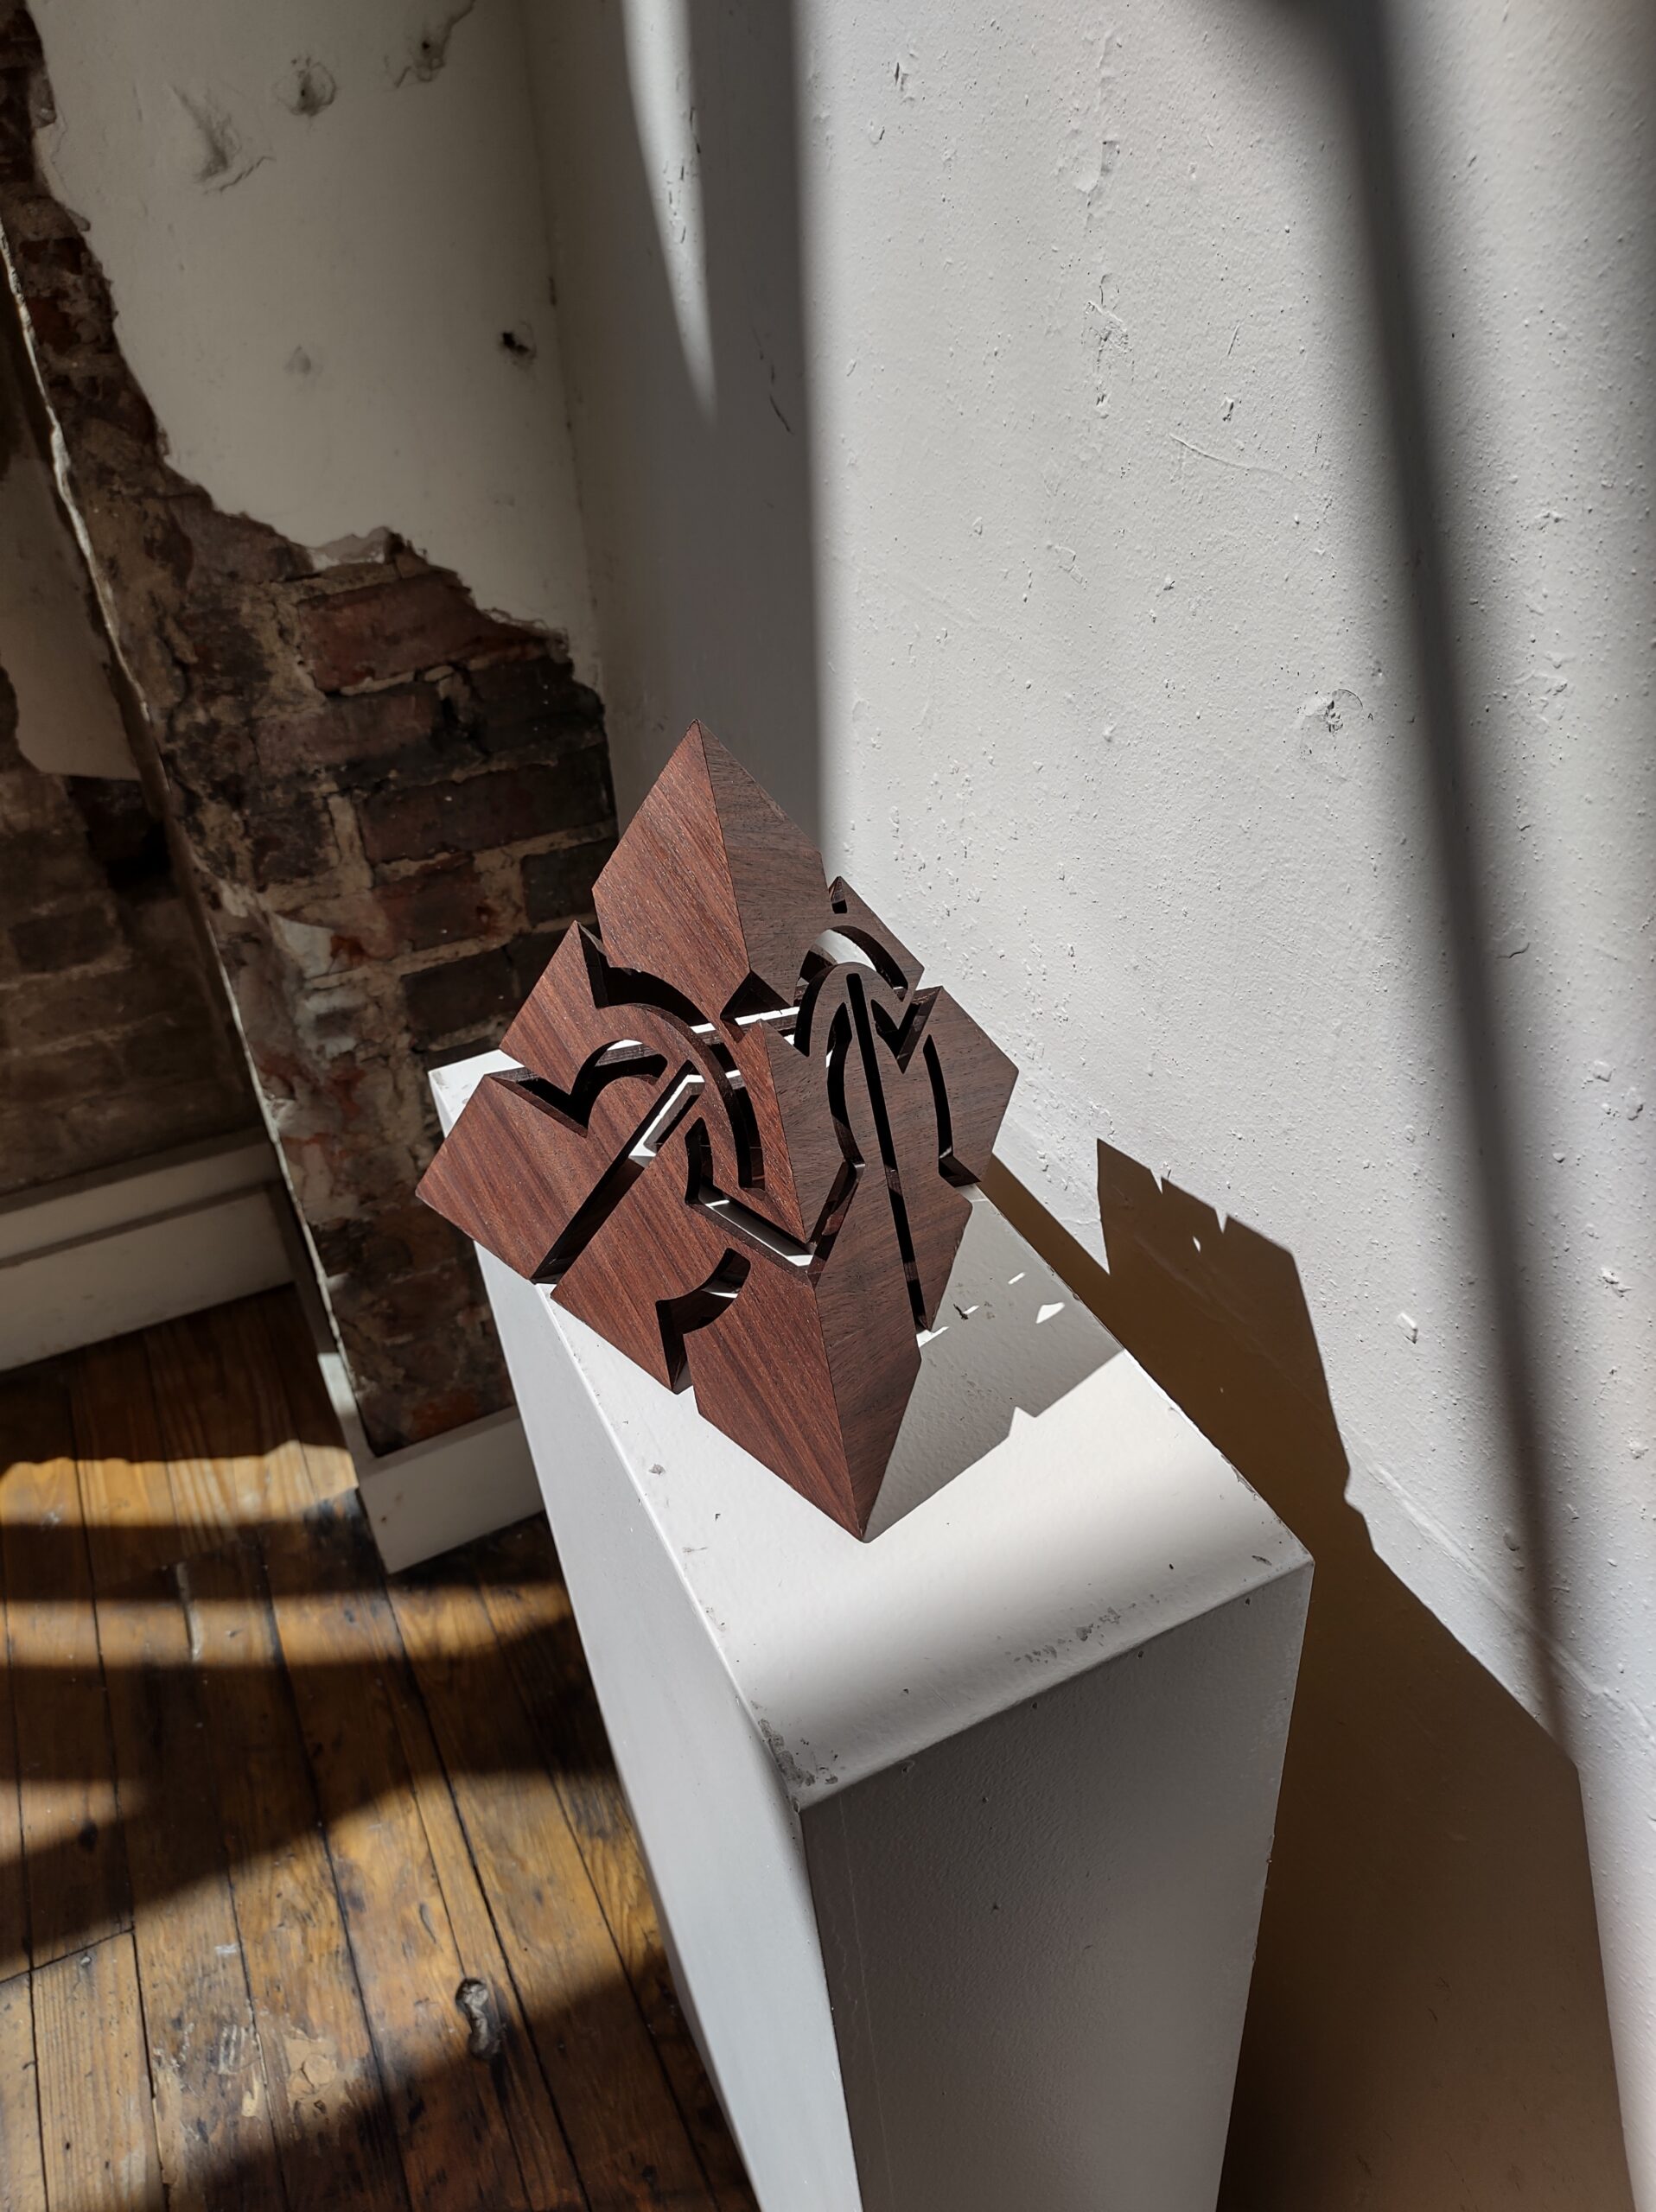
    Copies of the projected shape can be rotated and aligned to form a hexahedral shell on which the paths combine to form four knots.

    This sculpture (metatronic solid) is a hexahedron shell formed from the same face pattern.

    side view
    finishing the central element
    assembly and inlay
  • isometric hex knot

    isometric hex knot

    After starting the design for this one, I wanted to go bigger than I have before. I printed the knot out on one large piece of paper so the alignment wouldn’t be dependent on my ability to tape tiled sheets of paper together.

    Then I needed a giant hexagon for it to go on. After planing some boards down and gluing them up, I made a giant rectangle and cut the ends off at angles.

    I really do love it when I get to use a circular saw to make something that counts as fine art.

    This is one of those stages where I think, “I mean, it looks pretty cool. Maybe I could just stop here.” But, no.

    Actually before I got to this point, I practiced using the same 1/8″ copper strip I used for my tercet chain knot. The technique I used on that piece was hammering a modified X-acto blade to make the grooves. It took forever, so I thought I might be able to just sort of cut it into a softer wood just using the knife without hammering. This was a terrible idea because the wood I used had a really open grain and my design was mostly curves. Utter disaster. Laughably so.

    original and simplified designs

    That’s when I completely changed everything, working much larger and using a design with only straight lines. Still not wanting to take an actual year to cut all those little lines, I further simplified the design. I also got my hands on a cute little router base for my Dremel tool. Finally, I used wire instead of strips.

    Matching the depth of cut to the thickness of the wire was a little tedious. Each line took several passes because the bit was so tiny.

    And now everything was set up to actually being really working. Hammering the wire in really is so satisfying. Unless you mess it up, in which case it’s terrifying.

  • unicursal polygonal tercet

    unicursal polygonal tercet

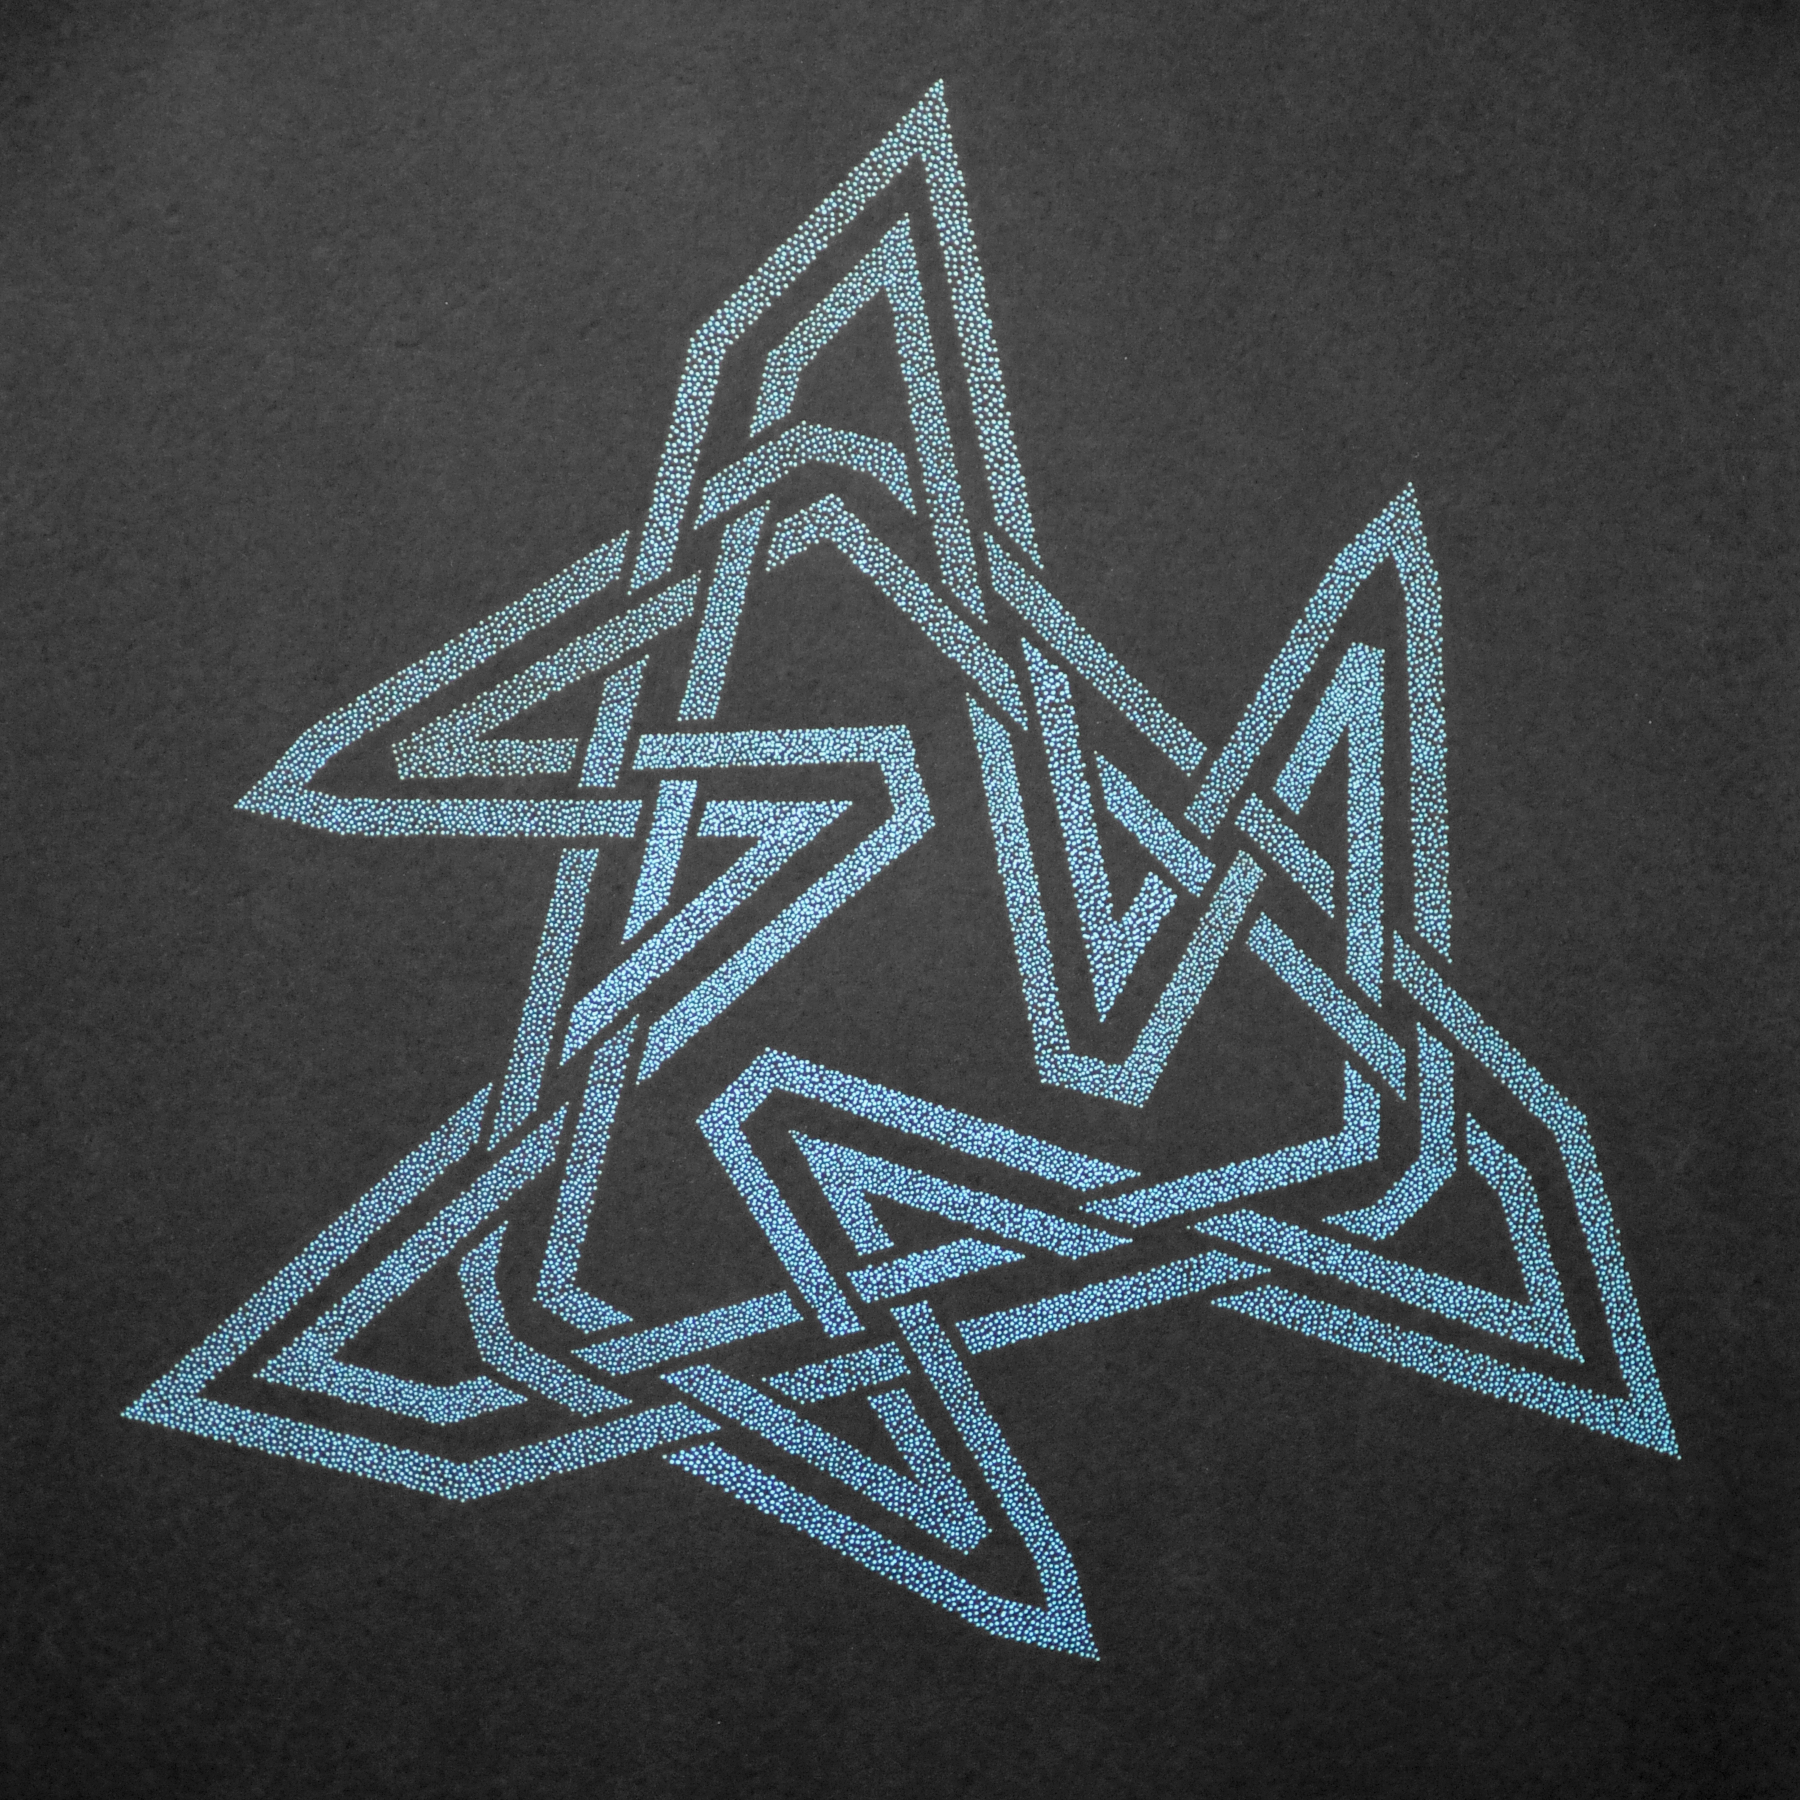
    Stippled paint creates a unicursal knot design. The aggregation of dots suggests straight lines not present in the artwork.

    This single component is connected end to end with two rotated copies to create the knot.

    Doubling the individual segments of the knot design does not disrupt the over / under pattern that knot diagrams have.
  • metatronic solid (tetrahedron)

    metatronic solid (tetrahedron)

    Three lines make a reversed knot pattern covering all faces of a tetrahedron, regardless of rotation (this same pattern can tile a plane).

    The first in a series of polyhedra shells based on this concept, taking its name from Metatron, a figure associated with the geometry of regular polyhedra.

    the face of the metatronic tetrahedron, representing the show
    many attempts using varying techniques
    successful maquette
    the satisfaction of a well-made tetrahedron
    preparing the final materials
  • projected isometric tercet knot

    projected isometric tercet knot

    This is a double-lined, triple-component knot based on an isometric grid. The rules of knot making are slightly bent with the double line, but half the fun of making your own system is breaking its rules.

    one of the 3 components is highlighted here. the implied shape in orange follows the rules, but the red is just along for the ride.

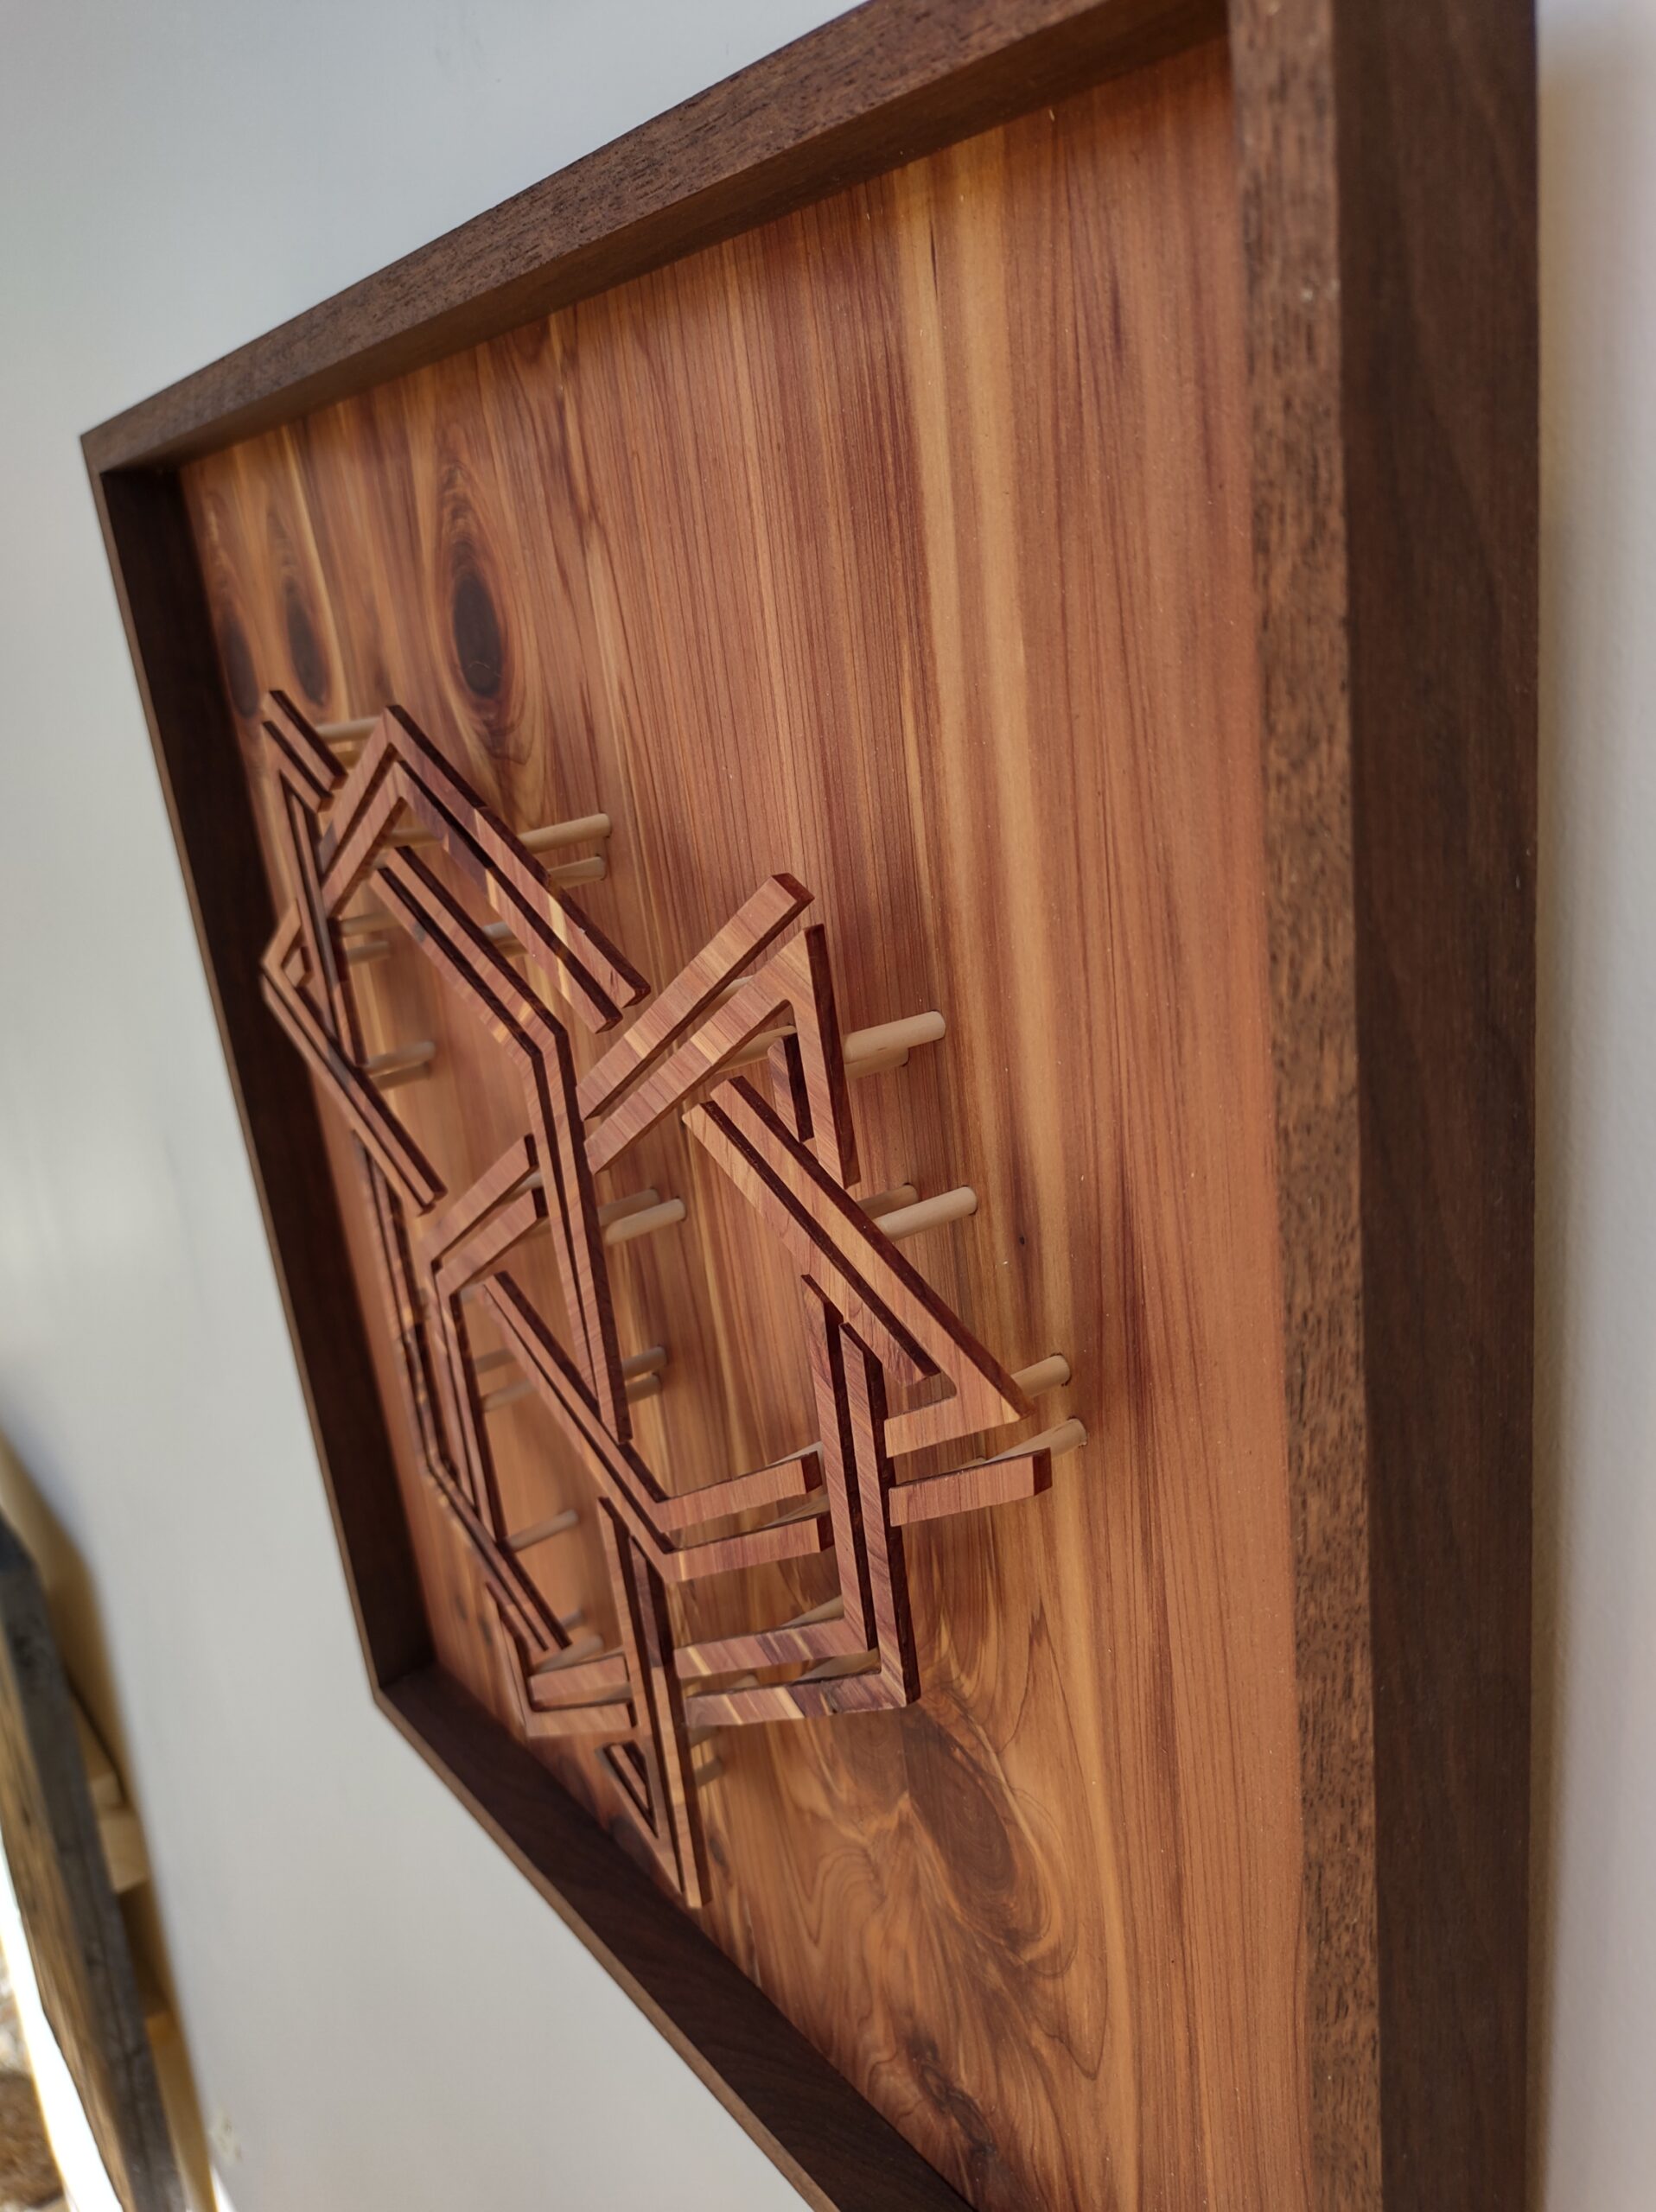
    It is “projected” is because its construction uses small wooden dowels to lift the individual pieces above the surface. This lets the viewer see the knot at different angles beyond the surface plane just by moving around. Also, the complexity of the pieces is emphasized by the projected shadows.

    The first iteration of this design (below) was purchased after being shown by The Arts & Cultural Alliance.

    The final piece was constructed from aromatic cedar framed in walnut.

    here are the holes before assembly. this is why I needed a color-coded guide.

    Added bonus: to keep everything organized during assembly, I color-coded an illustration of the piece. The colors were all over the place for easy identification, but they looked so cool, I put them on a shirt.

    notes on this project from my sketchbook

    The finished piece teeters on the edge of simplicity and complexity. I like letting the natural patterns of wood do the work for surface treatments.

  • tercet knot progression with self-similar encompassment

    tercet knot progression with self-similar encompassment

    Self-similarity within structures is always fascinating to me. After creating a knot encompassed in an element of itself (above), I thought it would be nice to also show a progression from the simplest component to a much more complex version of itself which would in turn cycle back to the beginning.

    this illustrates the progression seen on the individual pieces

    Each of the final pieces changes slightly from the one before it to create the cycle.

    notes and to do list in sketchbook

    You may be wondering, where did that nice oxidization come from? In my studio, I have a clearly labeled bottle of RUST JUICE for just such an occasion. On properly pickled metal, you can actually see the rust form within seconds.

    my metal prep schedule and checklist. mostly because I quickly forget how many times I’ve sprayed something.
    the first version was done on galvanized steel, which oxidizes in a different way